In the quest to silence a noisy drive or give you a quiet driving experience, many people overlook the sound that travels through the trunk of your car.
The rear of your car produces low-frequency exhaust and road noise, and to effectively manage this, you will need to treat the sheet metal accordingly.
Another benefit is that it improves your sound system’s surround sound and your subwoofer if you have one.
The wheel well of your trunk already provides sound deadening, but a covering of butyl foil to reduce rattling is essential. While you’re at it, external adjustments like a rattle-proof license plate frame should be installed, and securing any tools you may take along with you on your daily commute is another precaution to take.
One of the most effective and practical methods of soundproofing your trunk is sound damping. It addresses the vibrating resonance produced by dissipating the sound and converting it into heat energy. This reduces the sound traveling into your car as well as improving your sound system.
The process will vary from vehicle to vehicle, so I have documented the most commonly found and used methods.
You should check your car’s manual first. For around $20, you can find a detailed version. The easiest way to find the hard copy repair manual for your vehicle is to select Repair Manuals by Make and Model. Or you can get an electronic version. They both have all sorts of instructions and guides, whether it’s for customization, maintenance, repair, or even simply just learning about the inner workings of a particular vehicle.
Closed-cell rubber is required to deal with low-frequency noise as damping alone may not be enough. You will need mass to reduce low-frequency noise effectively.
The application of the material is easy enough, using a peel-and-stick function. The effort is to access the sheet metal skin of your trunk to apply the sound deadening material.
The project is a one-person job taking 6-8 hours but having a friend help will make it easier and get the job done quicker.
Table of Contents
What you’ll need
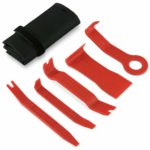
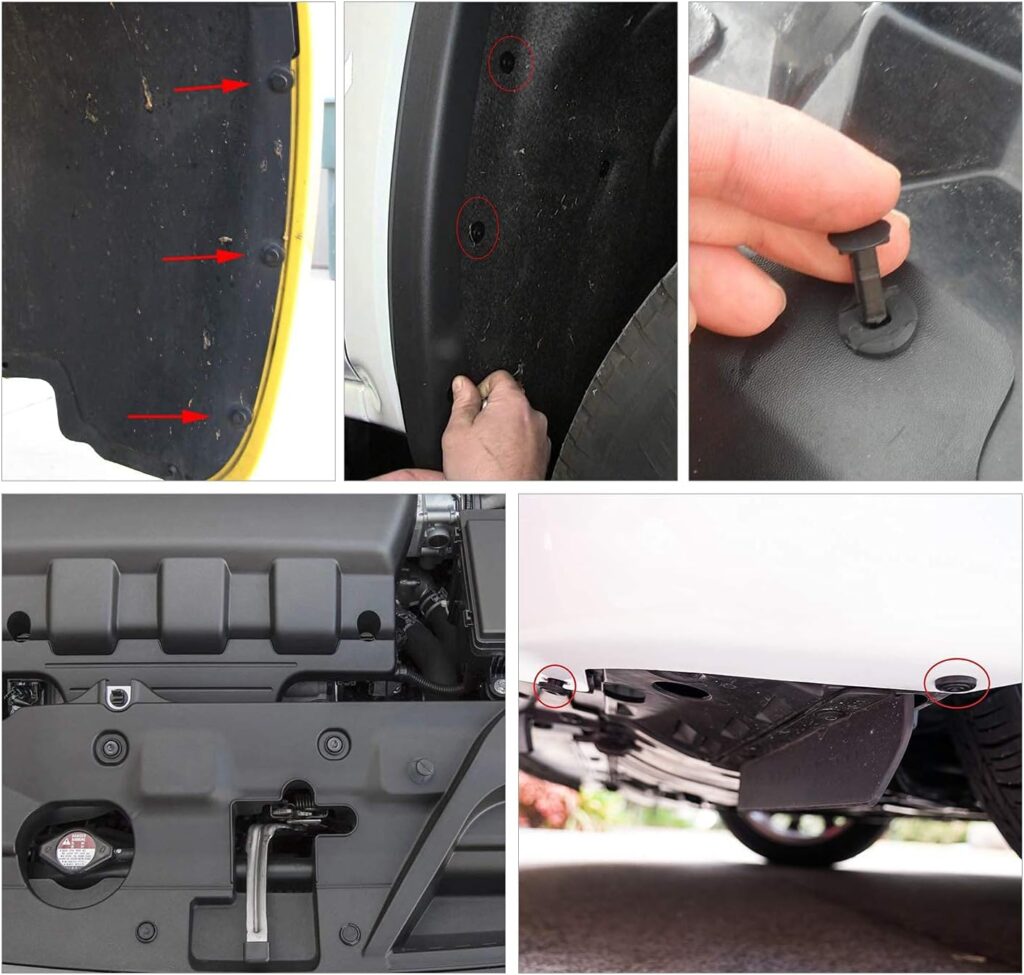
A panel removal tool kit is required for the panel pins. This is because they avoid breakage of the pins during the removal of them. It’s also useful for prying away the panels without doing damage to your vehicle’s paint job.
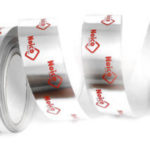
Aluminum tape is also needed. You can patch up the parts where there might be gaps left or use the tape to give your application a clean finish.

Wear a good pair of workman’s gloves while working with the material. The foil edges are sharp and cut through your skin. The glue is also best avoided.

You can use metal shears instead of scissors for products like Dynamat and others. You can also use a switchblade.
Use the correct seam sealer (if required) to avoid it setting and causing ripples on your trunk lid. In addition, the seam sealer should maintain some flex when dries.
You may want to get a set of additional Bumper Retainer Clips, just in case you damage some or if you find a few missing already.
Use a portable light system to make it easier for you to see.
National Consumer Center offers you a chance to get a $500 gift card to Amazon. The payouts are quick, and you can use the Gift Card to pay for some of your Amazon products.
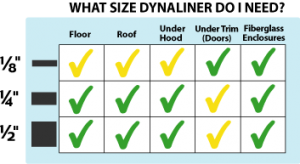
How much material will you need?
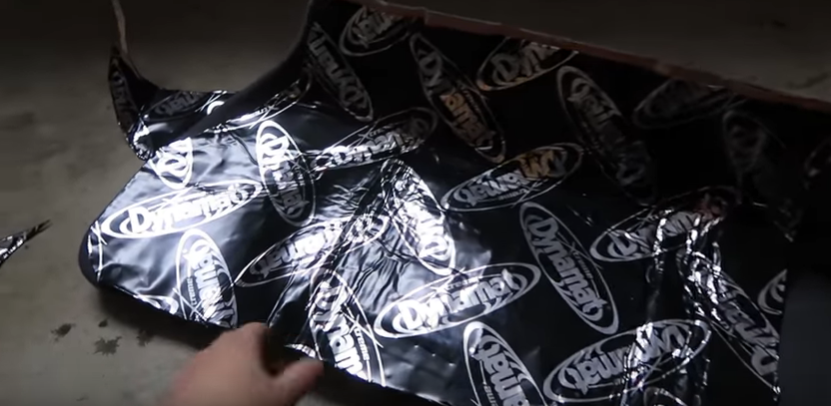
You have to start with sound damping material, which is Buty layered with acoustic foam and topped with a foil layer. This by itself effectively addresses the resonance of the sheet metal.
You can use a closed-cell rubber product on top. You want one with a self-adhesive to simplify the application. I have reviewed the best automotive sound-deadening materials; click here to read more.
For the best results and to address low-frequency noise more effectively, you will need a combination of both. The deadening material is applied first for the vibration of the sheet metal. The cell rubber on top effectively deals with low-frequency noise. These materials are thin enough to be layered in this manner.
Measure an approximate distance of each surface area by length and width. You should break them up into
- The bottom area of the trunk
- The two vertical side surface areas
- The top of the trunk (the lid)
- The top of the inside of the trunk (the area by your back speaker mounting)
- The front and back of the trunk (if required)
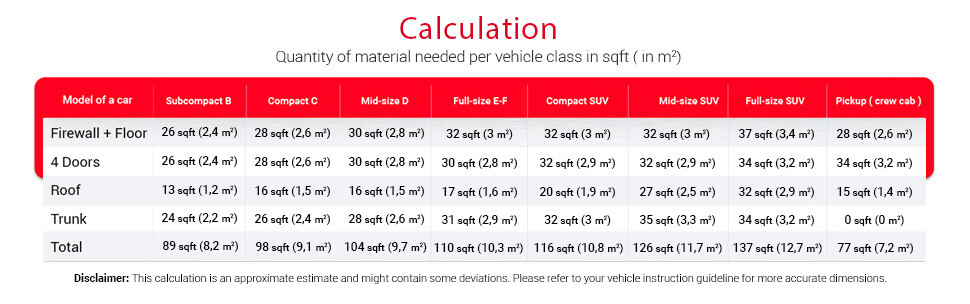
Using a standard-sized sedan trunk as a benchmark, you’ll need different amounts depending on how much you plan on doing. These are approximate sizes.
- Basic damping = 20 sq ft (80% coverage approx.)
- Full Damping = 32 sq ft (100% coverage approx.)
- Thermal insulation = 12 sq ft (100% coverage of trunk floor)
- License plate kit = 1 sq ft (Backplate only)
This may take 4 to 6 hours of uninterrupted work as a one-man job.
Preparation and application
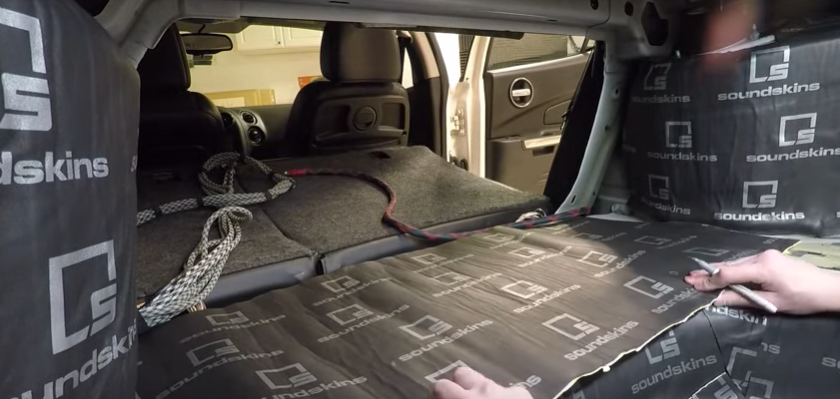
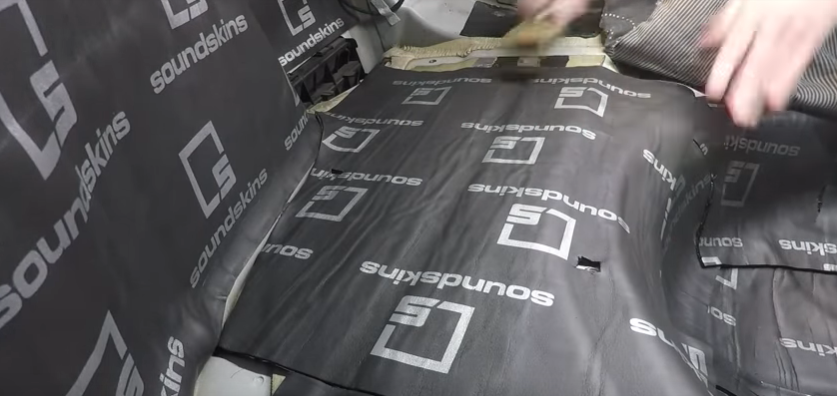
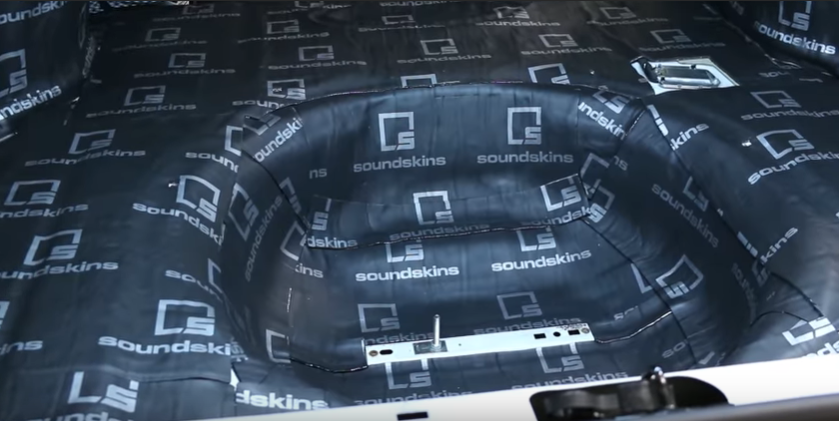
Apply self-adhesive damping throughout the shell of your trunk. You can do this by firstly removing the carpeting and trims to access the sheet metal.
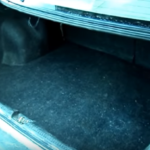
It would be best to start with an empty trunk as you will have to get to the sheet metal by removing the carpet.
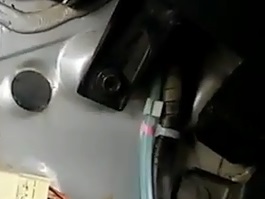
Thankfully you will probably not need to address much of the car’s electrical wiring. You may want to disconnect the battery just in case, though.
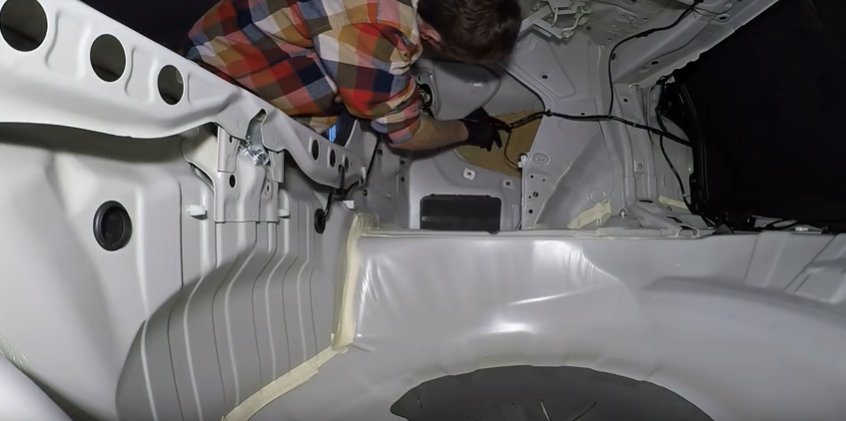
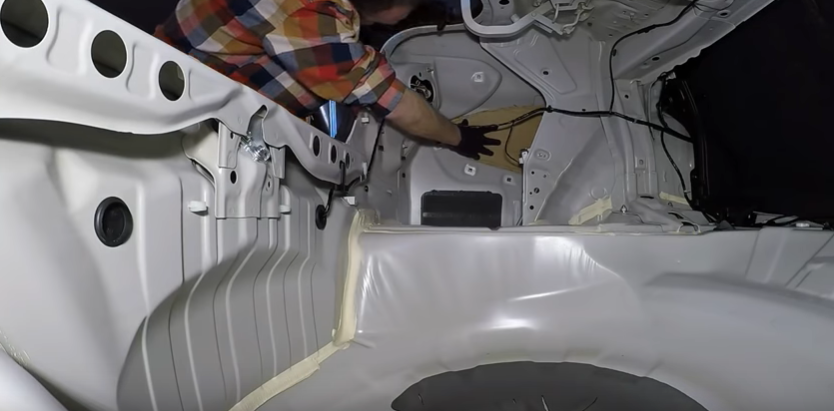
Preparing – getting to the sheet metal
Most of the carpet and trims are held in place with panel pins. These can be removed using a panel pin removal kit. It also avoids damage to your vehicle and the pins themselves.
The area to remove the trim coverings are:-
- The floor of the trunk.
- Sides of the trunk.
- The front section – That is the area closest to you when you open your trunk.
- The top area – Usually where the back speakers are mounted.
- The back of the trunk – If it needs to be treated.
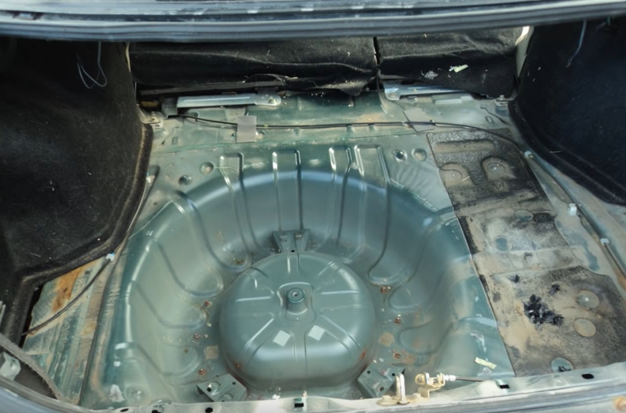
Removing all the trims first and the spare tire in the wheel well should be your first step. After that, clean down the surface and de-grease it. The adhesive on most of the materials will only be effective if the surface area is clean and degreased.


Get acquainted with your workspace. Spend a few minutes checking out the area so you can be prepared.
Application
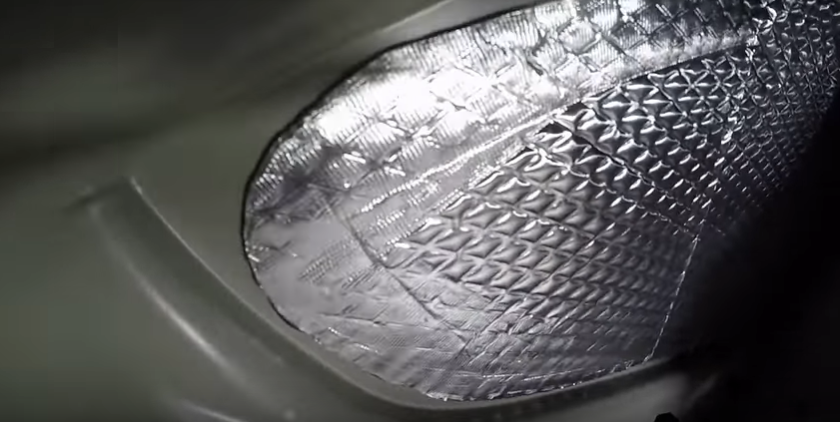
Remove 2 or 3 inches of the protective covering from the adhesive side of the deadener. Lightly stick it in place to see if your cut-out fits accordingly. Using your hand, press the material down whilst removing the balance of the protective covering as you go along.
Once in place, be sure to check the cut-out sections for the screws and panel pins are in the right place and pull through any wiring that may need to be replaced after re-installation.
You can use aluminum tape to ensure the edges are covered and straight. This is not essential as the trim will cover up the area anyway and give it a clean finish.
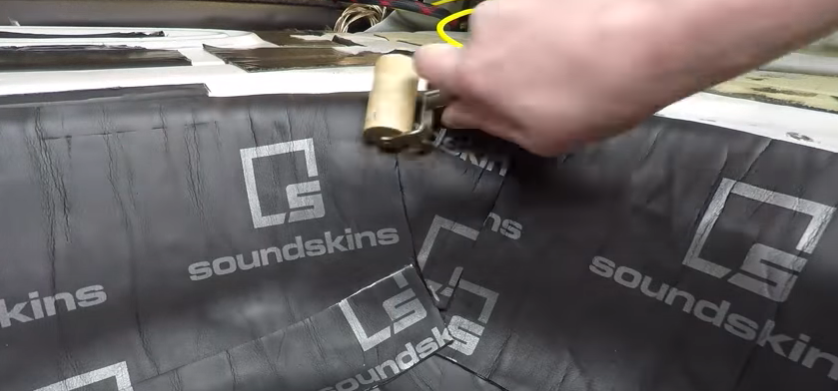
Finally, using the roller, firmly roll out the material. You can use the handle of the roller in any grooves or trenches to ensure good adhesion.
When dealing with contours during the rolling process, you may stretch and could even tear the material. This is where the tape comes in handy; you can also use it to straighten any uneven/crooked edges. Just make sure your tape is the same finish color as the material itself.
This is particularly useful when the material is left exposed and uncovered by the trims. In this case, the edges of the sound deadening material should be closed with tape. The edges of the sound deadening material will remain sticky, so these should be sealed off.
For a comprehensive guide on how to apply the deadening material, you can read more here.
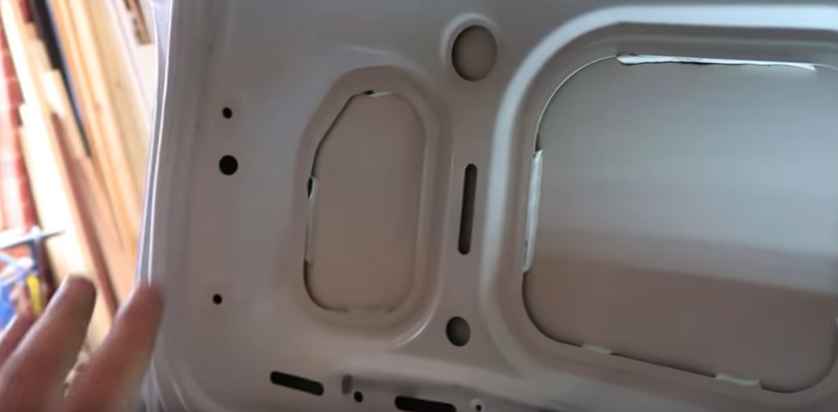
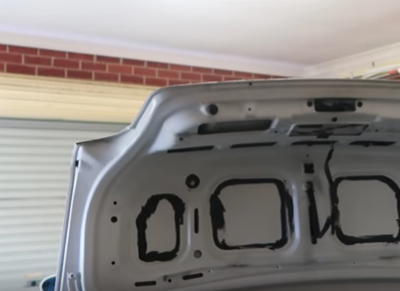
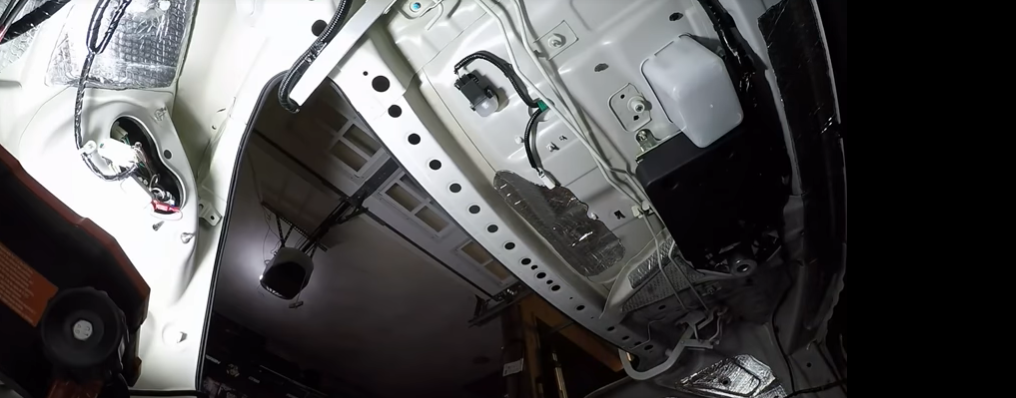
The lid of the trunk
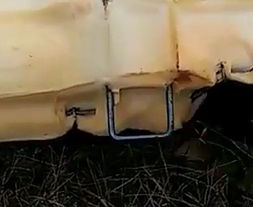
The lid of your trunk will need sound deadening treatment, but it may also require sealant. You may want to start with this first, especially if you plan to add filler to where the seal meets the sheet metal skin. Over time, you may find a slight gap forms between the seems and sheet metal on the lid of your trunk. This causes vibration and rattling, which You can resolve with a filler.
Deadening material will prevent this vibration but may also result in forming ripples on your trunk lid. So if you have this gap, you should fill it before applying the deadening material.
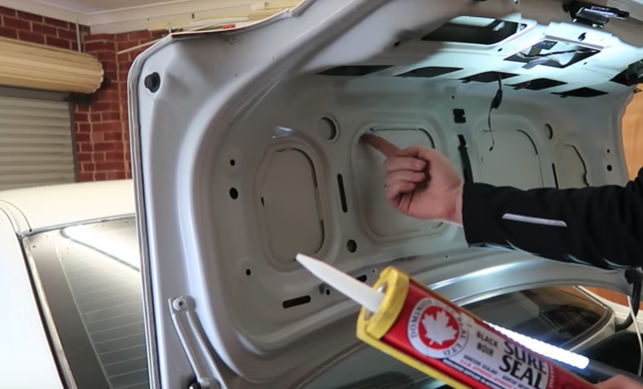
Seam sealer
The seam sealer will take a few hours to dry before you can apply the deadening. If you do the caulking first, you can continue with the rest of the trunk and come back to the lid at the end.
The first thing you are going to have to do is get to the sheet metal. You’re going to have to remove the vinyl/carpet trim to get to it. You can do this by firstly removing the panel pins using an adequately sized panel removal tool. The tool will prevent any breakage or damage done to your vehicle or the pin itself. You may also find a few screws holding the trim in place, which will need to be removed.
Unplug any wiring that’s attached to the trim before removing the panel completely. This sometimes needs a small flat-head screwdriver to achieve.
Once you have access to the sheet metal skin, you will need to prepare the surface area. The surface needs to be de-greased and cleaned before you get started.
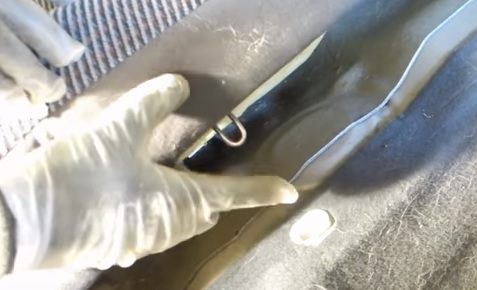
You start first with the seam sealer. The caulking is a simple process but a messy one. Use disposable latex gloves to avoid getting it on your skin.
Treat all the seam edges with the sealer and leave it to dry. The drying time will vary, but you can turn your attention now to the next part before returning to finish this section off.
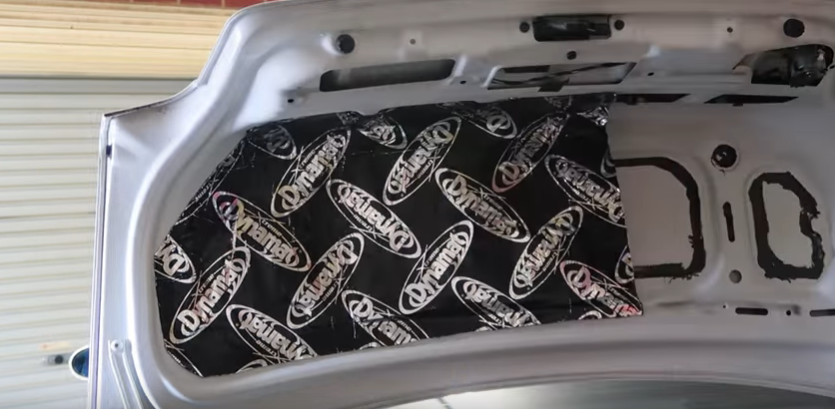
Deadener application
Once the sealant is dry, the next step is to use the removed panel trim to trace and cut out the sound deadening. This will ensure that there will be no overlap. The traced cut-out will give you accurate coverage.
Alternatively, you can use clear plastic and stick it in place. Then using a marker, trace out the area that the deadening material needs to be applied to. You will use this method throughout the application. Tracing correctly will make it easier to cut out the deadening material to exact sizes before application.
Then cut out the sections for the screws and panel pins to replace the panel later. You can cut this piece into 2 or 3 sections to make it easier to apply than to deal with one big section.
Before you stick the deadening in place, check the area is clean by rubbing it down with alcohol and a cloth or paper towel. Apply the sound deadening material using the method mentioned above. The process is the same as all peel-and-stick products.
Once you’re done with the sound deadening, replace the trim, not forgetting the wiring first. Lightly tap in the panel pins and screws back into place.
Sides of the trunk
Starting with the more difficult areas is a good strategy to adopt when taking on a project. The sides of the trunk require a fair deal of tracing, so You should do it early.
The sides are more commonly found to be mirrored, so using a trace will save you from measuring on both sides; be sure you place the stencil on the right side up before you cut out. The adhesive side should be cut to be applied to the sheet metal skin.
You can opt to cover the entire area or just the areas between the seems of the sides. 60% to 80% coverage will do the trick.
Prepare the surface area first by de-greasing and cleaning the area with rubbing alcohol first.
You should cover the vertical surface of the trunk side first. You should also apply at least two to three medium-sized sheets of deadening.
Top, Front then Back.
Next, you can start with the top of the trunk. This is the area where your back speakers are mounted. This is a small area, but because of the location, it may be challenging. You may find laying in the trunk provides the easiest position to access this area.
Trace out the areas required for treatment and apply. Using the roller here can be tiresome as you will be working pressing upwards. The effort is well worth it, as your sound system will benefit from treating this area.
Move on to the front of the trunk. Trace out sheets to size and cut them out. De-grease and apply as required.
If necessary, try and tackle the back of the trunk. This section and the front section are the least effective, though.

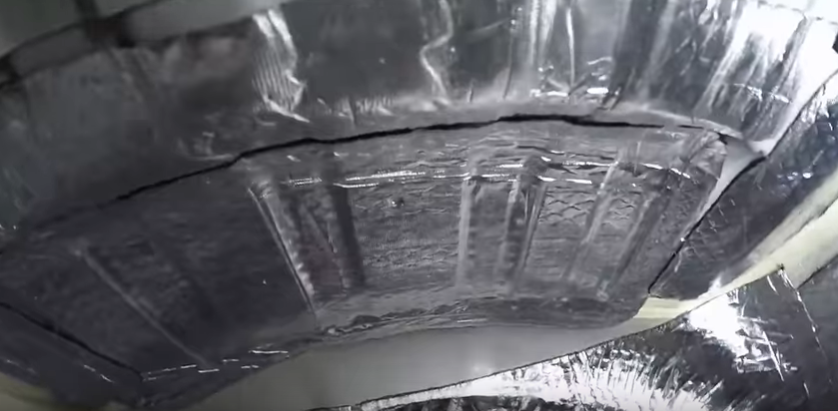
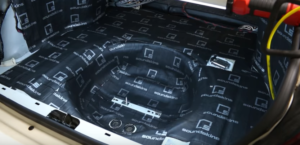
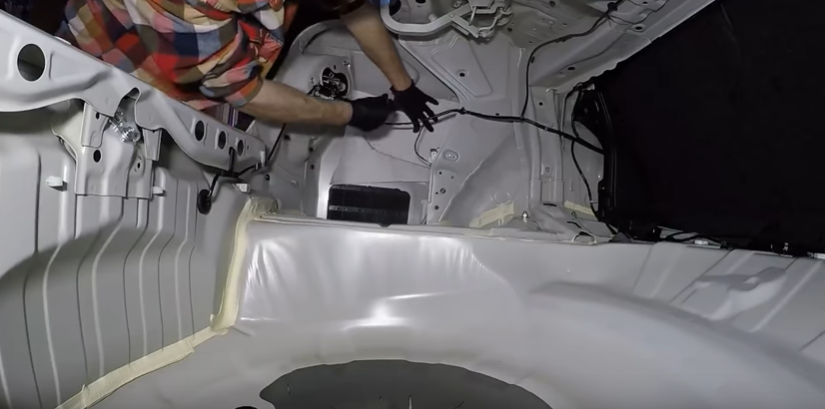
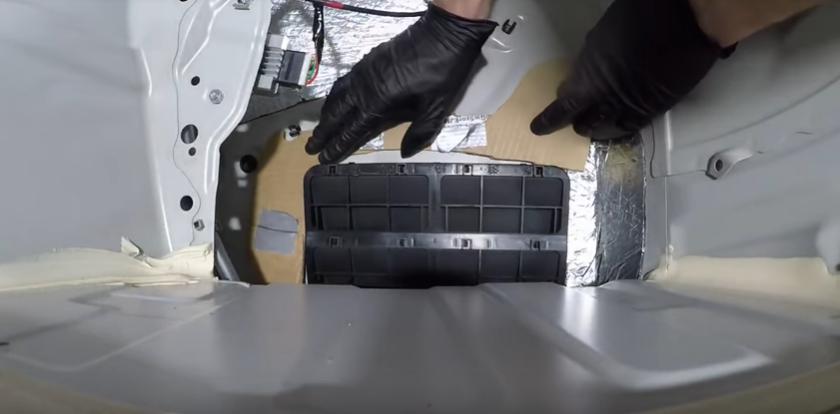
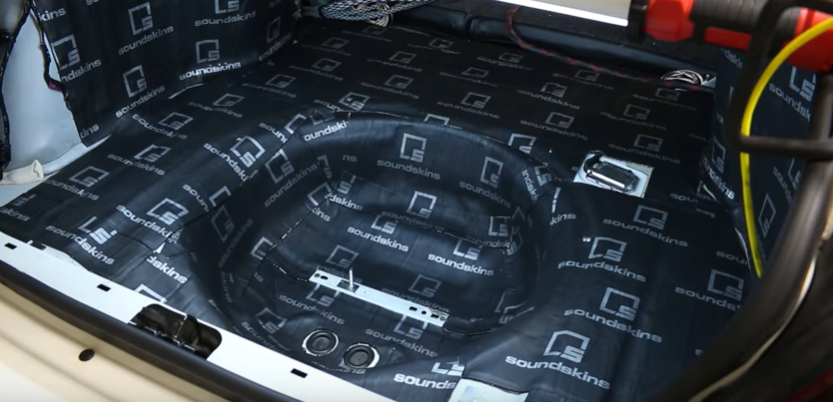
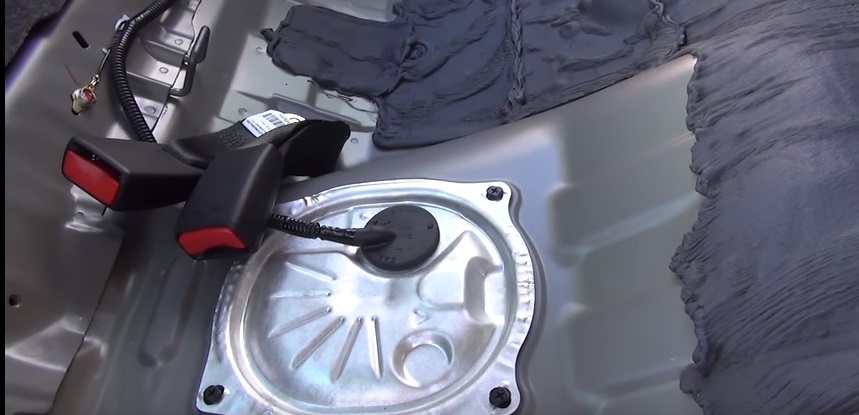
Trunk floor and wheel well
The floor of the trunk should be the last area you do. It is the largest area to cover—the two side edges and back, then the wheel well.
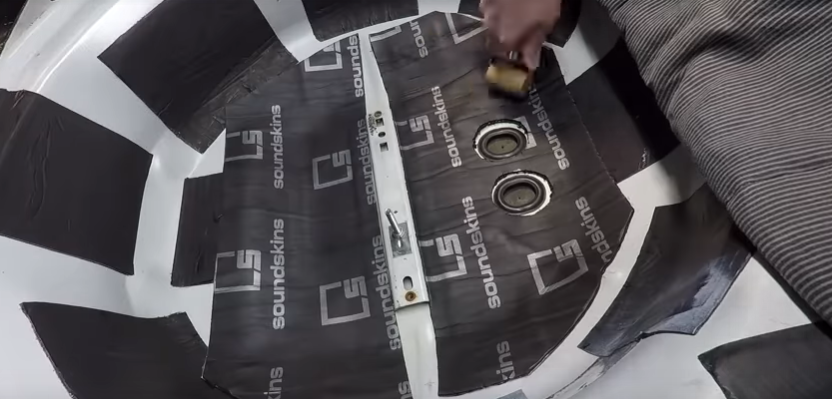
You can use the spare tire to measure out a large enough piece for the bottom of the wheel well. Pay special attention to cut-out wholes for the drainage and tire fastener.
Then use narrow rectangular strips 4” to 5” in width running down the inside edges. If you use wider pieces, the contour will strain the material and tear it. This should be enough in this area; however, you can cut strips to fill in the gaps.
Finally, move on to the flat surface areas around the wheel well. Here you can use larger pieces to apply to the surface area.
Rattle-Proof License Plate Frame.
You should install a silicone license plate frame. Most of these are easily installed without additional drilling but check the specifications first. I recommend this one. It boasts high-quality grade silicon in a variety of colors.
You could use a rectangular shape cut-out of sound deadening material. Using the license plate holder to trace out, cut out the exact shape to apply behind the holder. Be sure to cut out the mounting holes. The plate itself will cover up the material and resolve the rattling of the license plate.
Sound travels through the sheet metal surfaces in your vehicle. Your floor covers the bulk of this. Sound damping this area will significantly reduce noise traveling through your car.
I’ve gathered this information by researching many different sources of information. Sometimes it isn’t easy to find helpful information, but I’m sure you’ll find this useful.
- Firstly remove the front and back seats, the center console, and the floor carpet of your car
- Then prepare the surface area
- After that, apply Dynamat
- Finally, reverse the steps of removal
Installing Dynamat on the floor of your vehicle will
- reduce engine noise
- reduce wind noise
- extend and improve the performance of your vehicle
- improve your car audio sound system (less noise for your car speakers to contend with)
The process for removing the carpet varies from vehicle to vehicle, so I’ve just looked at the most common setups. You’ll need to check your specific vehicle’s user manual and scrutinize the areas yourself.
You should check your car’s manual first. For around $20, you can find a detailed version. The easiest way to find the hard copy repair manual for your vehicle is to select Repair Manuals by Make and Model. Or you can get an electronic version. They both have all sorts of instructions and guides, whether it’s for customization, maintenance, repair, or even simply just learning about the inner workings of a particular vehicle.
What you’ll need
A panel removal tool kit is required for the panel pins. This is because they avoid breakage of the pins during the removal of them. It’s also useful for prying away the panels without doing damage to your vehicle’s paint job.
Aluminum tape is also needed. You can patch up the parts where there might be gaps left or use the tape to give your application a clean finish.
Wear a good pair of workman’s gloves while working with the material. The foil edges are sharp and cut through your skin. The glue is also best avoided.
You can use metal shears instead of scissors for products like Dynamat and others. You can also use a switchblade.
Use the correct seam sealer (if required) to avoid it setting and causing ripples on your trunk lid. In addition, the seam sealer should maintain some flex when dries.
You may want to get a set of additional Bumper Retainer Clips, just in case you damage some or if you find a few missing already.
Use a portable light system to make it easier for you to see.
National Consumer Center offers you a chance to get a $500 gift card to Amazon. The payouts are quick, and you can use the Gift Card to pay for some of your Amazon products.
First things first
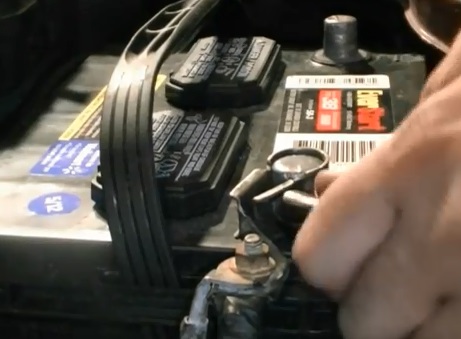
Start by disconnecting the battery to avoid damage to the airbag. Then remove all the items from the car. Lastly, prepare an area that you will use to keep the items you remove (Seats, console, etc.)

Removing the seats, belts, and trims
Front seats
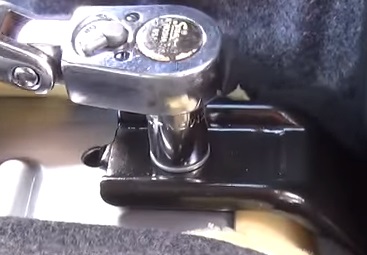
Begin by pushing the seat all the way back to access the two front bolts. You may find plastic clips covering these bolts. You may hold these clips in place with panel pins, but sometimes they have a screw keeping them in place. Then once the clips are off, you should see the bolt or bolts. Remove these bolts, then pull the seat as far forward as possible. Now the back of the seat may have up to 6 bolts (3 on either side). Again there may be clips concealing these bolts. Finally, following the same process, remove the bolts holding the back of the seat in place.
Front seat Safety belt
The safety belt anchor is attached to the bottom of the seat and will need to be removed first. It is usually concealed within a plastic cover. Remove the cover and the bolt.
Front seat wiring
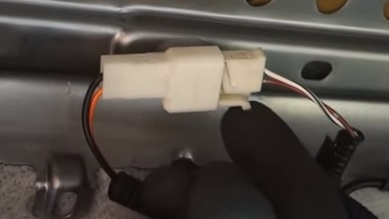
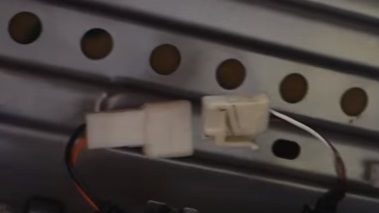
As mentioned in the beginning, you should have removed the battery terminal. If you lift the seat from the back, you should be able to see the wiring. Then carefully unplug the clamps that hold the wiring in place. The wires are held with a plastic clip to the bottom of the seat. Remove that carefully, then remove the seat through the front door.

Backseats
Cushion
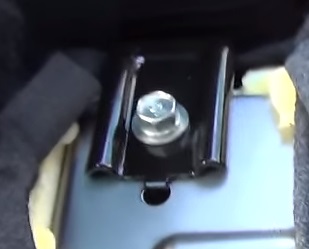
First, you may need to remove the bolts and/or screws holding the cushion in place. You’ll find bolts or a single bolt positioned in the middle of the seat. Use your hand to feel between the top half of the seat and the cushion. Removing this bolt will release the rear cushion pin. You may also find screws at the bottom of the cushion which need to be removed as well.
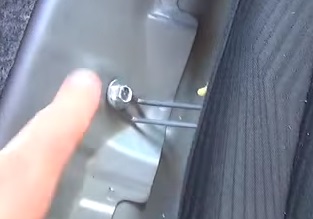
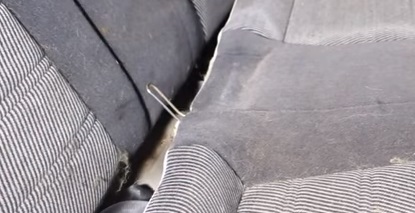
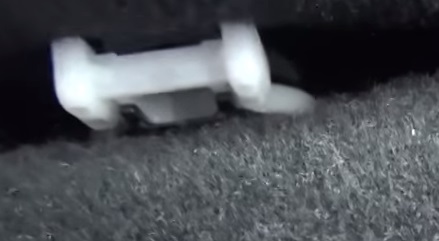
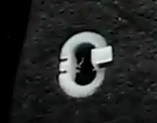
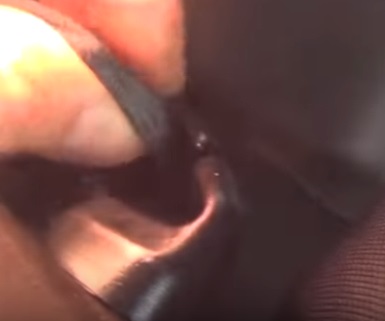
There is a pin at the back of the cushion and two pins in the front that lock the cushion in place. You can remove these pins from their corresponding slots. You’ll find these roughly in line with the middle of the passenger seat and the middle of the driver’s seat. Begin by lifting the cushion from the front.
You may need to use a lever to achieve this by placing it underneath the cushion and gently lifting the pins on either side. It would be best to release the pin at the back once you lift the seat up and forward. It’s not always required to remove the seatbelt anchor in this step. Lastly, thread the seatbelt clips through the cushion and remove the cushion from the car.
Top half
First, drop the seats forward, and you should find four bolts that release the top half of the backseats that need to be removed. Sometimes they’re covered by a carpeting trim. You may have to remove the plastic clips holding the trim in place first. Then remove all the bolts. Finally, you may need to remove the seatbelt from the guide to avoid it snagging.

Side cushion panels
Once you’ve removed the top half and cushion of the back seat, you may still have side cushion panels in place. These are fitted with a bolt at the bottom that releases them. Loosen these bolts, and you should be able to slide the panel up and out.
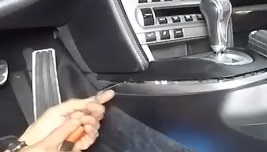
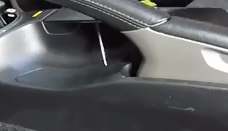
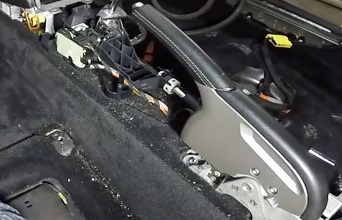
Centre console
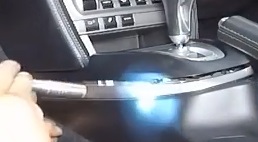
Begin by removing the gear stick head unit. You can do this by unscrewing it, or you may find a release clip. After that, remove the gear stick cover. You may need to shift the gear stick around to achieve this. Use a flashlight to see where the pins are holding.
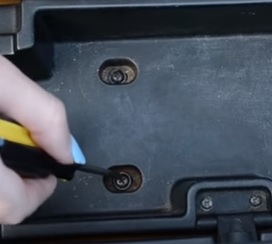
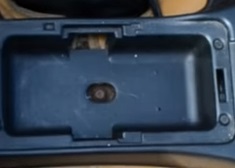
Next, remove the plastic or rubber matting in the armrest compartment and cup holders. There should be a set of screws or bolts underneath that need to be removed.
Underneath the handbrake should also be a set of screws usually covered by a clip. Using the trim removal kit, take off the clip and loosen the screws.
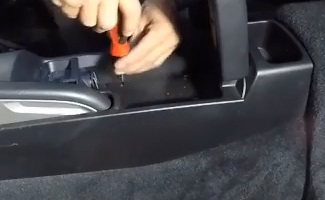
Then check the side and back of the armrest compartment for bolts or screws. If you have a cupholder, this should be removed, which may reveal another set of screws. The sides of the front part of the console also may have plastic clips or screws. Remove all of these as well.
After that, the plastic/rubber housing around the gear stick should clip off, revealing another set of screws. This part will need patience as you will need to move the console around until you find the right angle to remove it. Finally, you should be able to unclip the console and remove it entirely from the car.

Seatbelt
It’s usually not required to remove the backseat safety belts. The front seat safety belts are anchored to the floor. There should be another plastic clip covering a bolt. Remove these.
Plastic/Metal trimming
Some of the side trims or kickboards will need to be removed to get to your car flooring. You will need to inspect the panels first. Sometimes you’ll find the weather stripping covering the panel. This needs to be removed.
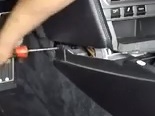
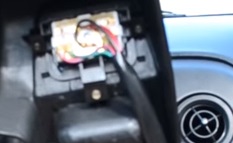
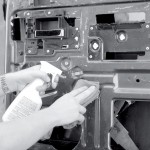
First, check for any exposed screws holding the trim in place and remove these. If you do not find screws check the panel to see where the clips are positioned by moving it around a little to establish the pressure. At the pressure point, you should find the clip underneath the panel. Then using the panel removal tool, slide the head under the panel and gently push down on the lever to lift it. Do this around all the door frames (Where the carpet is being held in place). Finally, if needed, unplug all the wiring carefully.
Using the proper tool here will avoid you breaking the panel pins which you need when replacing everything.
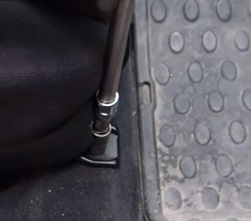
You may also find a pedal plate holding the carpet in place, which needs to be removed by loosening the bolts.
Rear deck
Adding Dynamat to the rear deck will improve the sound quality of your car speakers. However, this is not required to remove with a floor installation. You may want to consider it while you’re at it.
Removing the flooring carpet
If you followed the steps above, you should be ready to remove the carpet. Do a last check to ensure the carpet is loosened from all clips, screws, and bolts. If this is the first time you’re removing the carpet, you may find the foam sticking to the carpet and the car floor.
The best way to remove the carpet is to roll or fold it as you go along. Start from the front under the steering wheel where the pedals are. Then move to the front passenger side and then up to the gear. These are the trickiest areas to get out. Next, thread through all the wiring carefully. Once you’re done in the front, your carpet should be folded or rolled halfway. Then continue rolling the carpet up to the back seat. Finally, remove it completely from the back car door. You may want to give it a good dusting and vacuum it whilst it’s out.
Preparing the floor surface
The surface area needs to be cleaned before you apply the Dynamat. First, use a vacuum to remove any loose dirt. Then use a cloth with rubbing alcohol to clean off any oil and grease marks.
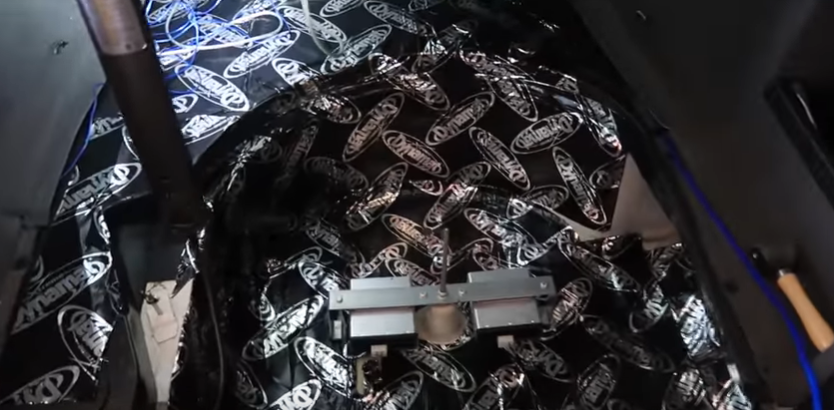
Installing DynaMat
The best product for this project is Dynamat Extreme. Dynamat Extreme is a sound damping material and comes in 36 Sq. Ft (9 X 18″ X32″). It is designed to reduce resonance and vibration on metal surfaces which in turn reduces road noise. For a more effective solution, you would want to add a layer of sound deadening material. Dynamat offers DynaPad, a Dynamat sound deadening material that can be placed on top of the Dynamat Xtreme (amongst some forums, they go as far as recommending two layers of Dynamat and then Dynapad). This will all depend on your requirements and whether or not you have space under your carpet.
Damping material and comes in 36 Sq. Ft (9 X 18″ X32″). It is designed to reduce resonance and vibration on metal surfaces which in turn reduces road noise. For a more effective solution, you would want to add a layer of sound deadening material. Dynamat offers DynaPad, a Dynamat sound deadening material that can be placed on top of the Dynamat Xtreme (amongst some forums, they go as far as recommending two layers of Dynamat and then Dynapad). This will all depend on your requirements and whether or not you have space under your carpet.
See the detailed installation guide of Dynamat
Re-installation
Follow the steps of disassembly.
Conclusion
By applying Dynamat to your car floor, you may find other areas becoming weak points, and you might want to address them also. Your car’s door panels should be the next to be addressed and then your trunk area. See my post on Car Door Damping DIY and How to soundproof your trunk.
So whether you have a hot rod or just your regular family car, installing Dynamat will afford you a more quiet journey.
Good luck and happy soundproofing!
Once you’re completed soundproofing the trunk you should move on to these next
Conclusion
Sound treatment done to your trunk is a fairly simple process. It deals with the low-frequency noise produced in the rear of your car. Getting to the sheet metal is not as difficult in this area of the vehicle, and the application is straightforward.
Although the rolling and cutting require some effort, the results are well worth it. It not only reduces sound traveling through your car but also improves your sound system.
Just one thing, though, it will expose other areas of your car that lack the same level of sound management, leaving you having to address these as well. Once you get started, you’re probably going to enjoy the benefits so much that you won’t stop until your entire car is sound-treated, but that’s not such a bad problem to have.
Good luck and happy soundproofing!