In today’s fast-paced world, home quietness has become a precious commodity. With noise pollution on the rise, finding solace in the comfort of your own home is more important than ever. This is where the significance of installing a soundproof door becomes apparent. Whether it’s to create a serene home office, enhance your home studio’s acoustics, or simply to block out the hustle and bustle of the outside world, a soundproof door is a key element in transforming your living space into a peaceful sanctuary.

Soundproof doors are specially designed to reduce the transmission of sound between rooms or from the outside, making them an essential feature for privacy and tranquility. Unlike standard doors, soundproof doors have a dense core and are equipped with seals that mitigate the passage of sound. This means not only less noise from the streets but also minimizing the sounds from other rooms, providing an undisturbed environment for sleeping, working, or relaxing.
Installing a soundproof door is a smart investment in your home’s comfort and your well-being. It’s a step towards creating a more peaceful environment that supports concentration, relaxation, and quality time with loved ones. Beyond the immediate benefits of noise reduction, soundproof doors can also contribute to the overall value of your property, making it an attractive feature for future buyers who value privacy and peace.
The process of installing a soundproof door might seem daunting at first, but with the right guidance, tools, and a bit of DIY spirit, it’s an achievable project that can make a significant difference in your home’s ambiance.
Stay tuned as we dive deeper into the steps of selecting the right soundproof door for your needs, preparing for the installation, and executing the installation process to ensure the best results for your soundproofing project. Remember, a quieter home is just a door away!
Table of Contents
Choosing the Right Soundproof Door
Selecting the right soundproof door is not just about picking any heavy door off the shelf. It involves understanding the unique characteristics that make a door capable of effectively blocking unwanted noise. The material, thickness, and overall design of the door play crucial roles in its ability to reduce sound transmission. Let’s dive into these aspects to help you make an informed decision.
Material Matters: The core material of a soundproof door is what primarily determines its sound-blocking capabilities. Solid core doors, often made from dense wood or metal, offer superior sound insulation compared to their hollow-core counterparts. The density of the material absorbs and deflects sound waves, preventing them from passing through.
Thickness Thwarts Noise: The general rule of thumb is, the thicker the door, the better it is at soundproofing. A door’s thickness is a barrier to sound waves; more material means more sound has to travel through, reducing the noise that can penetrate the door. Look for doors that are at least 1 3/4 inches thick, as this dimension provides a significant improvement over standard interior door thicknesses.
Design and Seals: The design of the door also plays a pivotal role in its soundproofing efficiency. Features like acoustic seals, automatic door bottoms, and thresholds are essential for creating an airtight seal around the door. These components block the gaps around the door where sound can easily travel through, ensuring that your soundproof door performs to its maximum potential.
Choosing the Right Door for Your Space: Consider the space where the door will be installed. Is it for a home studio, an office, or perhaps a bedroom adjacent to a noisy street? The specific needs of your space should guide your selection process. For instance, a recording studio may require a door with a higher Sound Transmission Class (STC) rating, indicating its effectiveness at blocking sound.
For more insights on soundproofing materials and how they complement your soundproof door, check out our article on 10 High-Density Soundproofing Solutions for Ultimate Quiet. This guide provides valuable information on enhancing your space’s quietness, ensuring you select materials that align with your soundproofing goals.
Remember, a soundproof door is an investment in your peace and privacy. Taking the time to choose the right one can transform your space into the serene sanctuary you deserve.
For those looking to dive deeper into making their homes even quieter, exploring broader soundproofing techniques can be beneficial. Learn more about comprehensive soundproofing methods in our article, “How to Soundproof a Door.” And if you’re in search of the perfect soundproof door for your project, don’t miss our selection of “Soundproof Acoustic Studio Doors.” These resources are designed to help you achieve the ultimate quietness for your space.
Preparing for Installation
Before diving into the actual installation of your new soundproof door, there’s a bit of prep work that needs to be done. This preliminary step is crucial to ensure a smooth and efficient installation process. Here’s a simple guide to get your doorway ready for that much-anticipated upgrade.
| Equipment | Description | Use |
|---|---|---|
| Soundproof Door Kit | Pre-manufactured door designed for soundproofing | Main component of the installation |
| Tape Measure | Flexible ruler | For measuring door and frame dimensions |
| Level | Tool to check surfaces are horizontal/vertical | Ensuring door frame is level and plumb |
| Shims | Thin pieces of material for alignment | Adjusting the door frame for a perfect fit |
| Power Drill | Electric drilling tool | For making pilot holes and installing hardware |
| Screwdriver Set | Tools for driving screws | Tightening and adjusting door hardware |
| Hexagonal Wrench | Six-sided tool for bolts and screws | Adjusting and tightening specific door components |
| Acoustic Caulk | Sealant for blocking sound leaks | Sealing gaps around the door frame for soundproofing |
| Weatherstripping | Material for sealing against air and sound | Enhancing the door’s soundproofing by sealing edges |
| Blue Painter’s Tape | Adhesive tape for masking | Protecting surfaces during sealing |
| Backer Rod | Foam rod for filling large gaps | Supporting the acoustic caulk for a better seal |
| Caulking Gun | Tool for applying caulk | Facilitates even application of acoustic caulk |
This table provides a comprehensive list of the equipment needed for the DIY installation of a soundproof door, ensuring you have all the necessary tools and materials at hand for a successful project.
National Consumer Center offers you a chance to get a $500 gift card to Amazon. The payouts are quick, and you can use the Gift Card to pay for some of your Amazon products.
Removing the Existing Door: The first step in your soundproof door installation project is to remove the existing door. Start by unscrewing the hinges from the door frame, and carefully lift the door out of its place. If your door has a closer or any additional hardware, make sure to remove those as well.
Preparing the Doorway: With the old door out of the way, it’s time to prepare the doorway for your new soundproof door. This involves checking the door frame for any damages and making necessary repairs. Ensure that the frame is sturdy and not warped, as a solid frame is key to supporting your soundproof door.
- Level and Plumb: Use a level to check that the door frame is both level (horizontally) and plumb (vertically). Adjustments might need to be made to ensure that your new door will fit perfectly and operate smoothly.
- Clean the Area: Remove any debris, dust, or old paint from the doorway. A clean surface is essential for a neat installation and helps the new door seal properly.
- Measure Twice: Before proceeding, double-check the measurements of your doorway and the new door to ensure a good fit. Remember, an accurate measurement now can save you a lot of time and effort later.
With your doorway prepped and ready, you’re one step closer to enjoying the peace and tranquility that a soundproof door can bring to your home or studio.
Step-by-Step Installation Guide
Installing a soundproof door is a meticulous process that requires attention to detail to ensure optimal soundproofing and functionality. Here’s a detailed guide to help you through each step of the installation process.
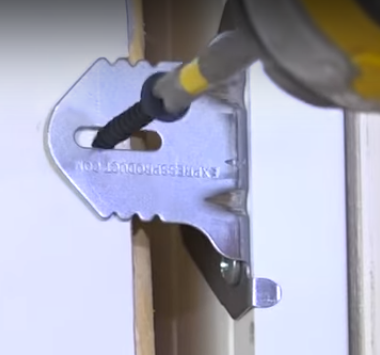
1. Shimming the Door Frame
Why It’s Important: Shimming is crucial for creating a level and plumb frame, which ensures that your door hangs correctly and operates smoothly.
- Measure and Mark: Start by measuring the height of your door and marking the hinge locations on the door frame.
- Place Shims: Insert shims at the marked locations. Shims help adjust the frame to ensure it’s perfectly vertical (plumb) and horizontal (level).
- Check with Level: Use a spirit level to check that the frame is both level and plumb. Adjust the shims as needed until the frame is correctly aligned.

2. Setting the Door in the Frame
The Right Angle: With the frame shimmed, it’s time to place the door. Have someone help you lift the heavy soundproof door and set it into the frame at a right angle to the wall.
- Secure the Door: Begin with the top hinge. Attach the door to the frame using the screws provided, but do not fully tighten them yet. This allows for minor adjustments as you attach the rest of the hinges.
- Align and Adjust: Ensure that the door is evenly aligned within the frame. Adjust the hinges and shims as needed to achieve an even gap around all sides of the door.
3. Ensuring It Is Level and Plumb
Final Adjustments: With the door set in the frame and all hinges attached, make the final adjustments to ensure that the door is perfectly level and plumb.
- Tighten Screws: Once satisfied with the door’s alignment, fully tighten all hinge screws. This secures the door in its properly aligned position.
- Double-Check: Use the level one more time to confirm that the door has not shifted during the tightening process and remains level and plumb.
Installing the Door Hardware
Handle and Lockset: Now that the door is securely in place, install the door handle and lockset according to the manufacturer’s instructions.
- Drill Holes: If not pre-drilled, carefully measure and drill holes for the handle and lockset. Be sure to check the specifications for the correct size and placement.
- Install Hardware: Fit the handle and lockset into place, ensuring they operate smoothly and securely.
Sealing Gaps for Optimal Soundproofing
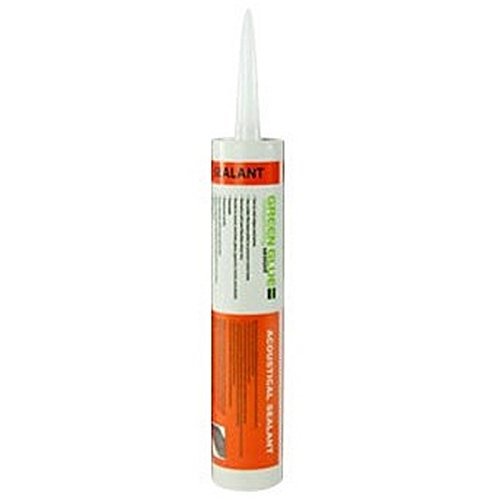
Acoustic Sealant: To maximize soundproofing, apply acoustic sealant around the edges of the door frame, filling any gaps between the door frame and the wall.
- Apply Sealant: Use a caulking gun to apply the sealant evenly around the frame. Smooth it out with a damp finger or a caulking tool for a clean finish.
- Install Weatherstripping: Apply weatherstripping around the door frame to seal any gaps that could let sound through. This step is essential for ensuring your soundproof door performs effectively.
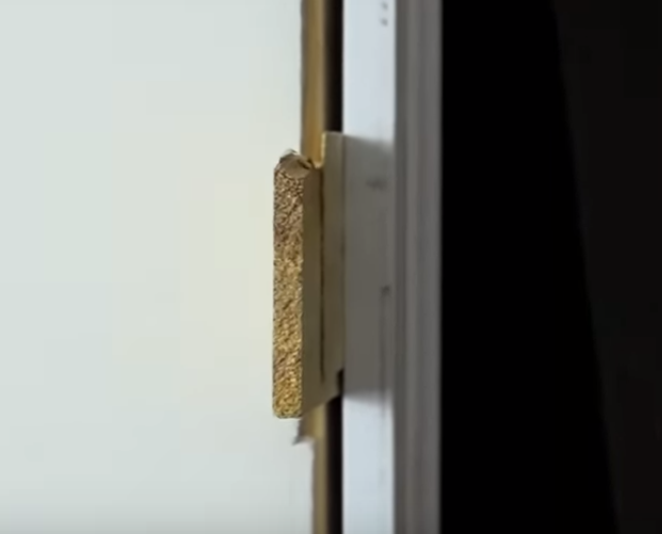
Seal cracks and gaps around the frame
Air and sound may also leak through gaps around the frame, so sealing off this area is another “Must-do” step in the sound management process.
Caulking in a layer of Green-glue around the frame will effectively address this issue. A large caulking gun is needed, and applying to bead around the entire frame is recommended.
Once you have established an air-tight seal around the frame and there are no gaps around the frame itself, you can look at other areas to address.
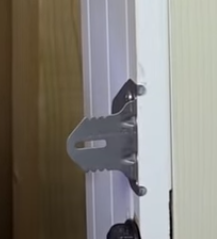
Sound sealing or weatherproofing for an air-tight seal
Airgaps need to be treated to ensure complete coverage and manage sound seeping in through the frame. It would be best if you did this on both sides and at the top of the frame. Weatherstripping requires little effort but, done properly; it’s an effective sound management method.
Most products use a peel-and-stick function. Surface preparation is required as the glue needs a clean area to ensure adhesion. An alcohol wash is not always required but is recommended. Installation should be done on the inner part of the frame.
You can use two methods for this:
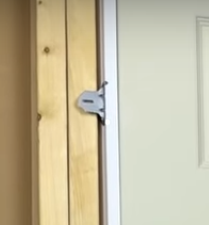
Acoustic gasket
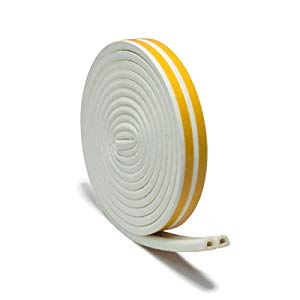
This is a foam rubber composite material that is a hollow “D” shape. When compressed, the gasket seals off and prevents airflow. If the gap is wide enough, you may end up with an air pocket which is just as effective as a soundproofing method.
Peel off the protective strip to expose the sticky side of the tape and then stick the gasket to the frame on all the edges as required.
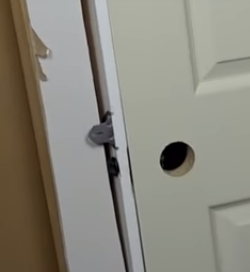
Closed-cell foam
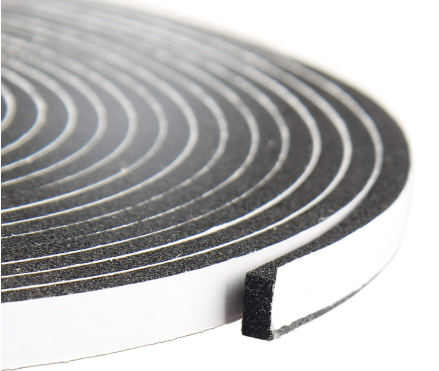
Acoustic-treated foam is the most commonly used material for this. It is compressed between the inner door frame and the door itself, preventing sound from traveling through.
Again peel-and-stick methods are commonly utilized for the application, which makes it easy to install.
Note: This guide provides a general overview of installing a soundproof door. Depending on the specific model of your soundproof door and the existing conditions of your doorway, additional steps or adjustments may be necessary. Always refer to the manufacturer’s installation instructions for the best results.
Professional Home Improvement Services
Contact the Professional Home Improvement Services to detail your plan for them and let them do the heavy lifting. The nice thing is they’ll come in at a convenient time for you with all the tools needed, and you’ll need to get the materials. You can sit back and relax, let them finish the job. They even do the clean-up when they’re done, leaving you to enjoy the benefits virtually effortlessly.
If you want to have the work done, but you’re not prepared to take this project on by yourself, then you can use Professional Home Improvement Services. There isn’t a need for a building contractor or even a big team that will come in and start breaking down walls and turning your home into a construction site.
Maintenance and Care for Your Soundproof Door
Once your soundproof door is installed, proper maintenance and care are essential to ensure its longevity and continued performance. Here are some tips to keep your soundproof door in top condition:
Regular Inspections: Periodically check the door for any signs of wear and tear. Inspect the seals and weatherstripping to ensure they are intact and provide a proper seal. If you notice any damage, replace these components promptly to maintain the door’s soundproofing effectiveness.
Cleaning: Keep the door clean from dust and debris, which can accumulate in the seals and potentially reduce the door’s soundproofing capabilities. Use a soft, damp cloth to wipe down the door and a mild detergent if necessary. Avoid harsh chemicals or abrasive cleaners that could damage the door’s finish or the seals.
Lubricate Moving Parts: The hinges and any moving parts of the door hardware should be lubricated periodically to ensure smooth operation. Use a silicone-based lubricant for best results, as it won’t attract dust or dirt.
Tighten Hardware: Over time, the hardware on your door, including hinges, handles, and locks, may become loose. Check these components regularly and tighten them as needed to ensure the door remains secure and functions properly.
Protect from Moisture: If your soundproof door is exposed to moisture or direct water, make sure to dry it off to prevent water damage or warping. Use weatherstripping and proper sealing techniques to protect the door from moisture infiltration.
Avoid Slamming: Though it may seem obvious, avoid slamming your soundproof door. Not only can this cause damage over time, but it can also compromise the door’s soundproofing integrity by loosening seals and hardware.
To assist you in maintaining your soundproof door, here’s a handy checklist of tools and materials you might need:
By following these maintenance tips and using the checklist above, you can ensure your soundproof door continues to function effectively for years to come, keeping your space quiet and serene.
Note: Always refer to the manufacturer’s specific maintenance guidelines for your soundproof door to ensure you’re providing the correct care and using the appropriate products.
Conclusion: Enjoying a Quieter Home
As we wrap up our guide on installing a soundproof door, it’s clear that the journey towards achieving a quieter home is both rewarding and transformative. The installation of a soundproof door is more than just a home improvement project; it’s an investment in your peace, privacy, and overall well-being.
The benefits of having a soundproof door are numerous. Not only does it significantly reduce unwanted noise from outside or other rooms, but it also enhances the acoustic quality of your space, making it perfect for focused work, undisturbed sleep, or simply enjoying the tranquility of your home. Moreover, a soundproof door adds value to your property, making it an appealing feature for potential buyers who value a quiet and serene living environment.
Embarking on your soundproof door installation project might seem daunting at first, but as we’ve seen, with the right tools, preparation, and a bit of DIY spirit, it’s a highly achievable endeavor. The satisfaction of completing this project and enjoying the results is well worth the effort.
We encourage you to take the leap and start your soundproof door installation project. Remember, the path to a quieter home is not just about blocking out the noise; it’s about creating a space where you can live, work, and relax in peace.
Your journey to a quieter home starts now. With each step you’ve taken to understand, prepare, and install your soundproof door, you’ve moved closer to creating the serene oasis you’ve envisioned. Remember, the benefits of a soundproof door extend beyond just noise reduction—they encompass the overall enhancement of your living space, offering a sanctuary from the bustling world outside.
We hope this guide has provided you with the knowledge, confidence, and inspiration to undertake your soundproofing project. As you enjoy the newfound quietness of your home, know that your efforts have contributed to a more peaceful and enjoyable living environment.
Soundproofing your home
Ready to transform your living space into a sanctuary of peace and quiet? Dive into our essential guide to soundproofing your home! From selecting the right materials to easy DIY installation tips, we’ve got everything you need to block out unwanted noise and create the tranquil environment you’ve always dreamed of.
Find out more about soundproofing your home’s windows, doors, ceilings, and floors. Don’t let the buzz of the outside world disrupt your peace. Start your soundproofing journey today and enjoy the serene, noise-free home you deserve. Click here to unlock the secrets to a quieter home!
Good luck and happy soundproofing!
2 comments
Comments are closed.