Driving for hours down a quiet road is therapeutic for many people. But it does get annoying when the road you’re driving down is not tranquil~; imagine the amount of noise you will have to deal with! No one enjoys it when their peace is disturbed, and loud, constant noises from the road can do just that. That is why it’s always a brilliant idea to soundproof your car’s headliner. It not only enhances your driving experience by leaps and bounds, but it can also provide a certain amount of temperature regulation.
Table of Contents
How can sound dampening your car’s headliner help you?
Sound dampening the interior of your car is easy to do. There are several ways in which dampening can do this. Sound dampening your headliner is just one of these options. To do that, you can affix sound-deadening layers inside the headliner of your car. That means that you can insert these materials between the vehicle’s roof and the layers that cover it on the inside. Sound deadening like this will go a long way in making the inside of your car peaceful. Plus, it can also help to enhance the performance of your stereo! The process involves just a few steps and is relatively easy to follow. You’ll need a few tools aside from the sound dampening and insulating material.
So, what exactly does sound dampening mean?
When you want to minimize the amount of noise you are hearing while seated inside your car, there are certain things you can do to achieve that goal. But that’s not all. Your car’s engine can also be a source of a lot of noise, especially while it revs up. To make sure that you effectively cut off that source of annoyance from your car driving experience, you ideally want to soundproof the surfaces of your car. Your car can be soundproofed in several ways, working on your headliner is one effective way to do it. All you need is a few essential tools and a fundamental idea about the process. Once you know how to go about it, the whole thing will be a piece of cake.
What is the headliner of a car refer?
Your car’s headliner is the roof that you can see when you’re sitting inside the vehicle, and you happen to look up. Generally, the headliner itself is designed to block external sound to a certain degree. But that doesn’t mean that the design is flawless, especially in cars that aren’t exactly high-end. Your vehicle’s headliner also helps regulate the temperature inside the vehicle to a certain degree. Overall, it is beneficial already. But that doesn’t mean that you can skip the sound-dampening installment, though! There is plenty of room for improvement, and making that happen isn’t a complicated process at all!
Why should you look into sound dampening your headliner?
This can improve your driving experience to a considerable degree! The benefits of sound dampening your headliner can be multiple, and you must know about them before you go about making this change to your vehicle. Number one would be that you can expect a quieter drive. Of course, the noise coming from the outside of the environmental sound is lowered. It does mean that your stereo starts performing better too. That’s not all; You can also expect some heat insulation. Soundproofing the headliner requires specific materials. Aside from performing their primary job, they can also work to make the interior of your car more comfortable. Overall, sound dampening your vehicle will help you in many ways!
What do you need to sound-dampen your car’s headliner?
You need to start by gathering all the tools and materials you need. You’ll need the soundproofing material and the heat insulation material. Of course, you need to have it all in a state of preparedness. You don’t want them to malfunction when you’re halfway into the job.
What you’ll need
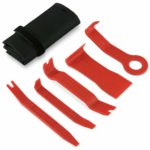
A panel removal tool kit is required for the panel pins. This is because they avoid breakage of the pins during the removal of them. It’s also useful for prying away the panels without doing damage to your vehicle’s paint job.
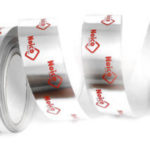
Aluminum tape is also needed. You can patch up the parts where there might be gaps left or use the tape to give your application a clean finish.

Wear a good pair of workman’s gloves while working with the material. The foil edges are sharp and cut through your skin. The glue is also best avoided.

You can use metal shears instead of scissors for products like Dynamat and others. You can also use a switchblade.
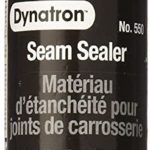
Use the correct seam sealer (if required) to avoid it setting and causing ripples on your trunk lid. In addition, the seam sealer should maintain some flex when dries.
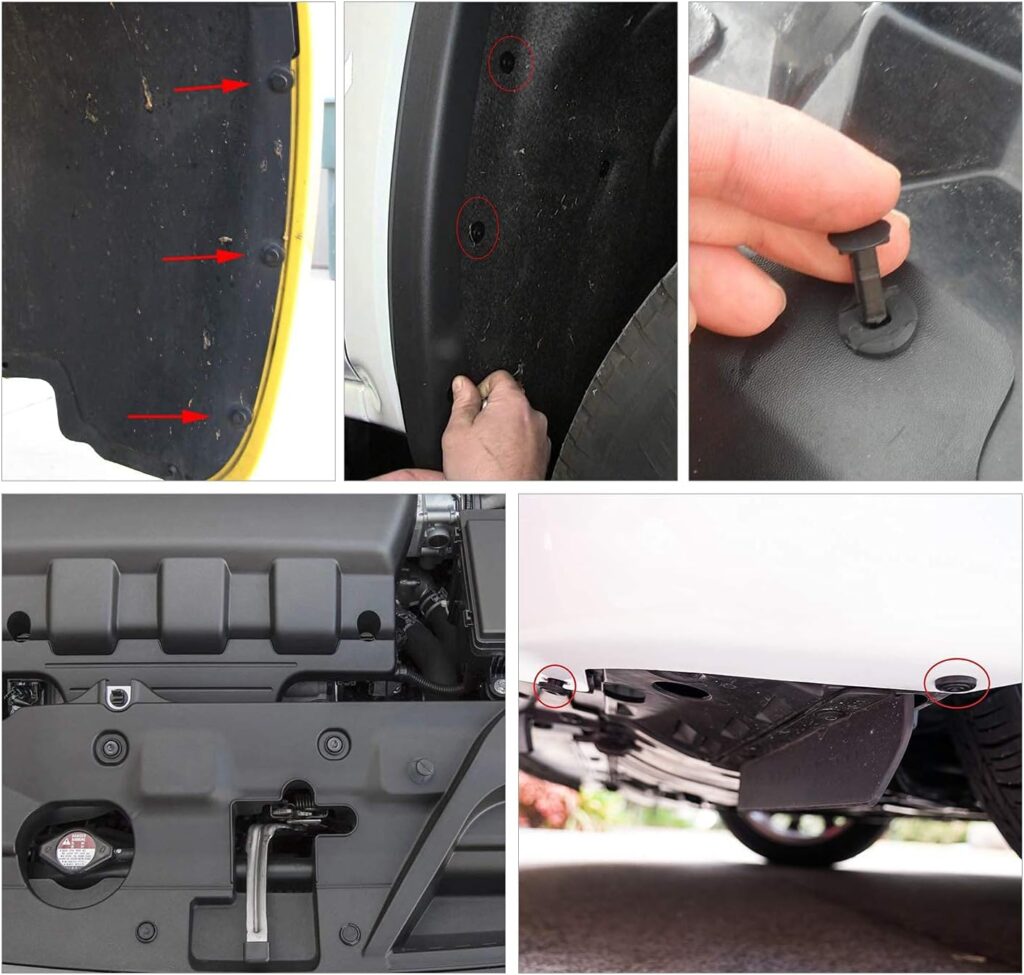
You may want to get a set of additional Bumper Retainer Clips, just in case you damage some or if you find a few missing already.
Use a portable light system to make it easier for you to see.
National Consumer Center offers you a chance to get a $500 gift card to Amazon. The payouts are quick, and you can use the Gift Card to pay for some of your Amazon products.
You should check your car’s manual first. For around $20, you can find a detailed version. The easiest way to find the hard copy repair manual for your vehicle is to select Repair Manuals by Make and Model. Or you can get an electronic version. They both have all sorts of instructions and guides, whether it’s for customization, maintenance, repair, or even simply just learning about the inner workings of a particular vehicle.
What process do you need to follow?
First, after you have prepped all the things you need, you need to take the headliner out. Make sure you keep it safe, though. You will have to put it back up after you are done. A heads up: I fully expect everything to be filthy! Sorry, but the roof is VERY likely to be disgusting. You might have to spend some time cleaning it up and degreasing it.
Next, you have to install the first layer, a sound deadening 2mm layer. A pro move would be to adhere the material in the spaces between the reinforcement ribs. This step is the one that will ensure that the roof surface of your car is the most securely covered.
After that, you can use your roller to firm affix the material onto your roof. This is a critical step in ensuring the sound-dampening ability of this setup. After this first layer is done, you want to give the aluminum foil a proper wipe before proceeding to the next layer.
The next layer will be a 4mm heat and sound insulator. Try to put it up without any dents or overlaps. Spread it out evenly over the entirety of the roof of your car. After all, you don’t want any creases or unsmooth parts ruining the headliner’s texture.
Once this is done, the last step would be to safely replace the headline and secure it. And that’s it. You’re suitable for the road. You can drive around and enjoy the noise-free, temperature-regulated interior of your car after that!
Conclusion
All in all, it is a straightforward process. And the best part is that it can go a long way in improving the comfort of your driving experience.
Good luck and happy soundproofing!