Driving means that you might often have to put up with noises. And yes, these might be noises that you don’t particularly enjoy. There are things like the sounds from the road. Other cars will honk and rev up close to you. Finally, your car might make several noises. Overall, unpleasant sounds can be fixed if you soundproof certain parts of your vehicle. Sound dampening your car’s firewall can give you considerable respite from squeaks that might be issued from your vehicle.
All you need are some essential tools and the sound deadening material. Sound-deadening your car’s firewall is a straightforward process that kills engine noise and helps regulate the temperature in the interior of your vehicle. It’s a specific procedure that will require you to strip down the floor covers, clean the area, and add the insulating and noise blocking layers back to back. Overall, not a massive hassle at all!
Table of Contents
What exactly is sound dampening?
Sound dampening refers to the process through which you reduce the noise. It involves affixing materials that can absorb the noise that is being produced. Sound damping is a multifaceted process because it has other utilities too! Whether it is external noise that you’re trying to block or the sound created by your car’s engine and suspension, sound deadening is a viable option. If you value your peaceful driving experience, you must take some time out to soundproof your car’s firewall!
What part of your car is the firewall?
The car’s firewall is a vital organ. It covers the engine compartment of the vehicle. In general, it is built like a safety wall between you and the heated engine. You might take for granted that the manufacturer would adequately insulate this part of the car. But, unfortunately, mostly, it’s just a layer of metal that surrounds the engine compartment. It doesn’t do a great job of keeping the noise from the engine and the suspension at bay. Also, an overheated firewall can risk heating the entire car. That isn’t something you want, so make sure you follow the due process and soundproof it!
Why should you sound dampen your car’s firewall?
There are a lot of reasons that can justify that question. Right at the beginning, the sound deadening process achieves its fundamental objective. It reduces the sounds from your car’s engine and suspension. And if you turn off your stereo, you will know that there is a LOT of noise being produced by your vehicle itself. Besides, it certainly contributes to making the car’s interior more comfortable. It helps to regulate the temperature inside the vehicle. Your stereo will also sound a lot clearer. So, in a way, sound deadening your car’s firewall is going to improve your car’s indoor environment. Bonus points if you’re a music lover! And honestly, with how easy this process is, you have no reason to avoid getting this done.
What do you need to sound-deaden your car’s firewall?
All you need is a bunch of hardware tools and your firewall sound-deadening sheets. Apart from that, you might need to clean up the area and degrease it. Products to aid this process might prove to be handy.
What you’ll need
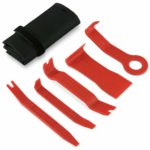
A panel removal tool kit is required for the panel pins. This is because they avoid breakage of the pins during the removal of them. It’s also useful for prying away the panels without doing damage to your vehicle’s paint job.
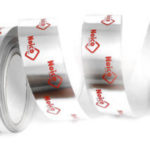
Aluminum tape is also needed. You can patch up the parts where there might be gaps left or use the tape to give your application a clean finish.

Wear a good pair of workman’s gloves while working with the material. The foil edges are sharp and cut through your skin. The glue is also best avoided.
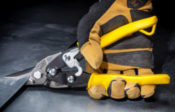
You can use metal shears instead of scissors for products like Dynamat and others. You can also use a switchblade.
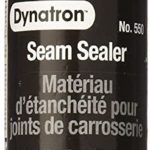
Use the correct seam sealer (if required) to avoid it setting and causing ripples on your trunk lid. In addition, the seam sealer should maintain some flex when dries.
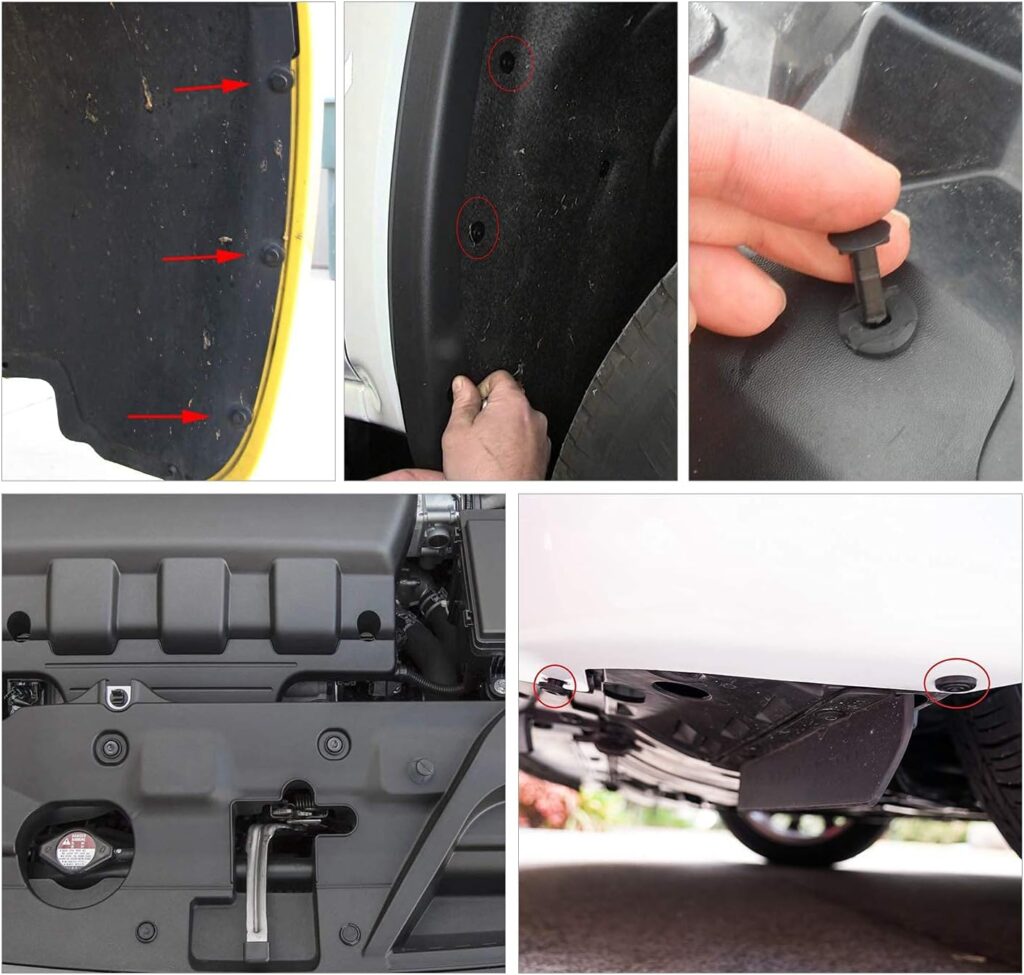
You may want to get a set of additional Bumper Retainer Clips, just in case you damage some or if you find a few missing already.
Use a portable light system to make it easier for you to see.
National Consumer Center offers you a chance to get a $500 gift card to Amazon. The payouts are quick, and you can use the Gift Card to pay for some of your Amazon products.
What’s the process that you need to follow?
When you have stripped the floor of your car of the covering and carpets, it is time to start work. You need it all to be bare before you can go down to the job. You might have to remove the seats too. What happens very often is that people tend to focus on soundproofing the floor lining. While it is an integral part of soundproofing and insulating the car, overlooking the firewall is never wise.
The first step would be to unplug the battery because running the car while working on it is nothing but a hazard.
Next, you will have to undo the wiring. Using stickers to mark the wiring placements can be very helpful in remembering what goes back where. You will need to pay considerable attention to this step because faulty wiring can be disastrous.
Car Manual
You should check your car’s manual first. For around $20, you can find a detailed version. The easiest way to find the hard copy repair manual for your vehicle is to select Repair Manuals by Make and Model. Or you can get an electronic version. They both have all sorts of instructions and guides, whether it’s for customization, maintenance, repair, or even simply just learning about the inner workings of a particular vehicle.
Up next is the cleaning. You need to clean and degrease the area to ensure that you aren’t reinforcing accumulated dirt. Vacuuming could be an excellent way to deal with it here.
After this, you need to cut out a cardboard template and align the structure. The sound deadening material will need to be heated before attaching it to the firewall. You can run it over with a roller to stop it from becoming uneven or bubbly.
You ideally want to affix all the sheets back to back to keep moisture from getting in the way; this not only makes for better sound deadening but also better temperature regulation. Over the sound deadening material goes the heat and noise insulating sheets. As a rule of thumb, you ideally want to keep the mounting spots very thinly laid out.
And now you’re done. The only thing left to do is put your car back together. Now that the firewall sound deadener has been installed, you can put back the floor liner and replace the firewall as it was.
Conclusion
So that’s it. All you need to do once this process has been done is sit back and relax. Now the inside of your car will feel a lot more comfortable. Besides, installing deadening will also fix the massive problem with constant noise from your car’s engine or suspension.
Good luck and happy soundproofing!