
A home studio has two different sound-control jobs. It may need to keep traffic, neighbors, appliances and activity elsewhere in the house out of recordings, while also keeping vocals, instruments, monitors and rehearsals from disturbing people outside the room.
That is sound isolation. It is separate from acoustic treatment, which controls reflections and reverberation inside the studio. A good recording room often needs both, but solving one does not automatically solve the other.
How to soundproof a home studio: the short version
Start by identifying the noise that matters and how it reaches the room. Then work through the weak points in a deliberate order:
- Seal air leaks and penetrations.
- Improve the door and window openings.
- Upgrade walls, floors or ceilings only where they remain dominant transmission paths.
- Use decoupled construction when the isolation target is high enough to justify it.
- After isolation work, add acoustic treatment for recording clarity.
Our general room sound isolation guide explains how to trace noise paths before choosing materials.
Decide whether you are blocking outside noise, studio noise, or both
A voiceover room near a road has a different problem from a home studio used for amplified instruments. The first may be dominated by external airborne noise entering through a window or door. The second may need to contain substantial internal sound, including lower-frequency energy from monitors or instruments.
Write down the actual sources before rebuilding anything. The best assembly is the one that addresses the noise path you actually have.
Seal the easy leakage paths first
Sound can travel through surprisingly small openings. Door perimeters, gaps below the door, window frames, service penetrations and incomplete joints can all weaken an otherwise substantial room.
Airtightness is therefore one of the first things to investigate. It does not replace mass or decoupling, but it prevents simple gaps from bypassing the rest of the assembly.
Make the studio door work with the room
Many home studios use an ordinary lightweight interior door. If the surrounding walls are relatively substantial, that door may become the obvious weak point.
Our door soundproofing guide covers the complete opening, while the acoustic door seal guide focuses on perimeter and bottom sealing.
Do not judge the door only by its slab. Frame leakage and the threshold can dominate the result.
Control window noise without immediately replacing the window
External traffic, voices, aircraft and neighborhood noise often reach a home studio through its window. Begin by identifying whether the main problem is leakage around the frame or transmission through the glazing system itself.
For retrofit options, see our guide to soundproofing existing windows.
Improve studio walls only when the walls are the problem
If sound is genuinely transmitting through the wall assembly, the useful mechanisms are mass, cavity absorption, damping, sealing and, where needed, decoupling.
Our wall soundproofing guide explains these mechanisms in context. Adding a random surface product to a finished wall is not equivalent to improving the full assembly.
Where more wall mass is needed, the soundproof drywall guide compares conventional layered construction with specialist acoustic boards.
Do not overlook the floor and ceiling
A studio in an upstairs bedroom, basement or converted room can transmit through floor and ceiling structures even after the walls have been improved. Loud monitors, instruments and foot movement can also introduce vibration into the building.
Our floor and ceiling soundproofing guide explains why airborne sound and structure-borne noise may require different approaches.
When a room-in-a-room studio becomes appropriate
For ordinary voice recording or moderate home production, a complete isolated inner room may be unnecessary. But higher isolation targets can eventually exceed what simple retrofit work can provide.
The room-in-a-room approach is the advanced option: a separate inner structure designed to minimize rigid mechanical connections with the original building.
It is particularly relevant when the room produces substantial sound itself or when very low recording noise floors are required in a difficult environment.
Soundproofing and acoustic treatment solve different problems
This distinction is especially important in a recording studio.
Soundproofing limits sound travelling between the studio and other spaces. Acoustic treatment changes the way sound behaves after it is already inside the room.
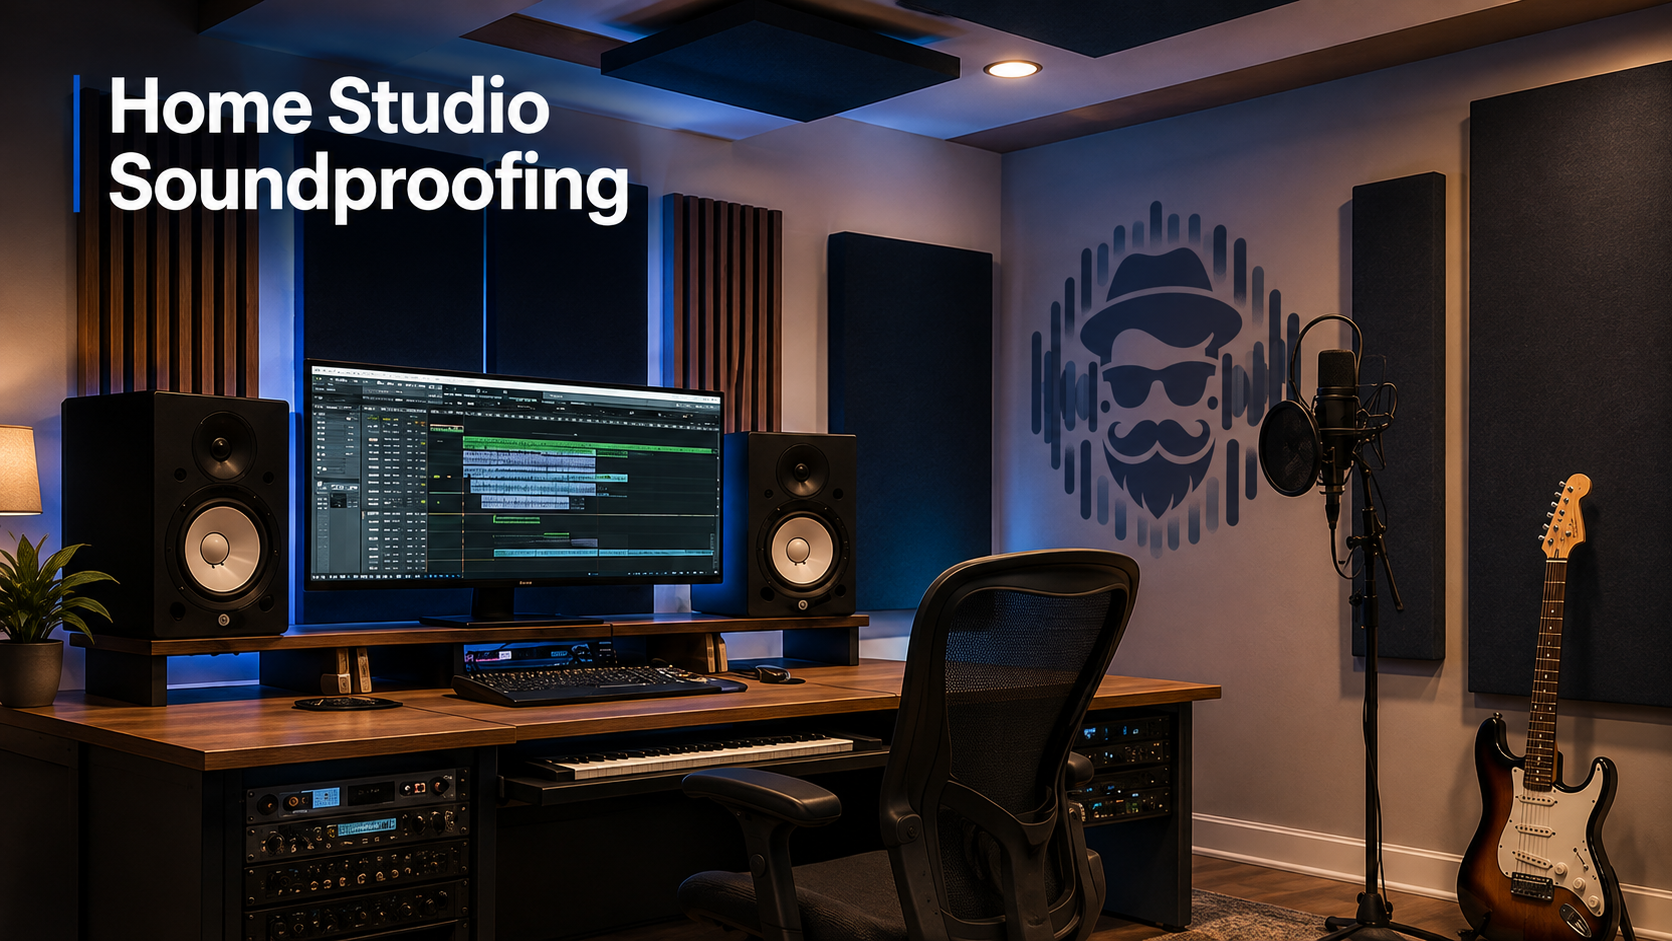
Acoustic panels can reduce reflections and reverberation around the listening or recording position. They are valuable studio tools, but they should not be expected to stop voices, music or traffic passing through walls and openings.
Where acoustic foam fits
Acoustic foam is another internal-treatment option. It can be useful for controlling reflections in specific locations, particularly in smaller spaces, but it does not make a weak wall or door into a high-isolation assembly.
Our acoustic foam guide covers treatment choices and realistic expectations.
Reduce echo after the isolation plan is stable
If recordings sound boxy, reflective or excessively live after the room is isolated, then evaluate reverberation and reflection control. Furniture, room geometry, panel placement and the recording position all affect the result.
For the basic acoustic problem, see how to reduce echo in a room.
A practical home-studio order of operations
- Identify the noise source and transmission path.
- Measure the door and window weaknesses.
- Seal gaps and penetrations.
- Improve the weakest openings.
- Evaluate walls, ceiling and floor.
- Use decoupling only where the isolation requirement justifies it.
- Then tune reflections and reverberation inside the studio.
This sequence avoids spending heavily on acoustic treatment while a simple doorway or window remains the dominant path for outside noise.
Can acoustic panels soundproof a recording studio?
No. Acoustic panels can make recordings clearer by managing reflections and reverberation, but they do not replace structural sound isolation.
Does a home studio need room-in-a-room construction?
Not automatically. It depends on the required isolation, existing building and noise sources. Many voice, podcast and moderate music rooms can improve substantially without constructing a fully independent inner shell.
What should you fix first in a noisy home studio?
Fix the dominant path. If outside traffic is entering mainly through a window, rebuilding an unrelated wall first is unlikely to be the best use of the budget. The same principle applies to doors, ceilings and floors.
Separate room noise from equipment noise
Not every unwanted sound in a recording is entering through the building shell. Computers, external drives, fans, air-conditioning equipment and other studio hardware can create their own noise close to the microphone. Before rebuilding walls, make a short test recording with the room quiet and identify whether the dominant sound is coming from outdoors, another room, the HVAC system or equipment inside the studio.
This distinction matters because structural soundproofing cannot fix a noisy computer fan sitting beside the microphone. Likewise, replacing equipment will not stop traffic entering through a weak window. Diagnosing the source first keeps the building work focused on the part of the noise floor it can actually improve.
Pay special attention to ventilation and HVAC noise
Studios need ventilation, but ducts and grilles can create several separate problems. They can carry sound between rooms, produce hiss or turbulence, vibrate, or transmit noise from fans and mechanical equipment. Do not solve this by covering a supply or return grille or restricting required airflow.
If the vent itself is a significant path, our vent and HVAC noise guide explains how to distinguish duct-borne transfer, grille vibration, airflow noise and equipment noise while keeping required airflow intact.
Low frequencies from monitors require realistic expectations
Studio monitors and subwoofers can produce energy that travels much farther through a building than speech. Turning down the lowest frequencies for late-night work, changing the monitor position and reducing direct mechanical coupling can sometimes improve the practical situation, but these are not substitutes for structural isolation where powerful low-frequency transmission is the real problem.
If bass remains clearly audible elsewhere after doors, windows and leakage paths are controlled, evaluate the wall, floor and ceiling assemblies rather than continuing to add absorption inside the studio.
What if the home studio is in a rental?
Renters usually have fewer structural options. Begin with changes that do not require rebuilding the property: improve reversible perimeter sealing where permitted, manage the recording position, reduce unnecessary equipment noise and treat reflections separately from isolation. Avoid assuming that foam or a hanging blanket will make a lightweight shared wall soundproof.
If the required isolation cannot be achieved without altering the building, the realistic choice may be changing the studio location or limiting recording levels rather than installing temporary products that cannot address the underlying structure.
Final home-studio plan
Build the isolation strategy around the real noise source. Seal leakage, strengthen the weakest openings, improve structural assemblies where necessary and use deeper decoupling only when simpler work cannot meet the target.
Then treat the studio acoustically for the recording or monitoring environment you want. Keeping isolation and treatment separate makes both jobs easier to design correctly.
Good luck and happy soundproofing!