Laundry rooms are not typically considered to be noisy. However, you can’t deny that the continuous droning sound of the washing machines does get irritating. Especially when the dryer starts, the spinning sound can become quite annoying. And when you do start feeling this way, it’s your cue to soundproof your laundry room.
This is very similar to installing and soundproofing the rest of the rooms in your house. But there are certain factors that you need to keep in your mind before you start.
The reason behind a noisy Laundry room is the constant rumbling of the washables and the water. Also, vibrations are produced due to the spinning and rocking of the machine. These vibrations travel around the house through the walls and the floors, creating quite the disturbance, especially for those in the rooms right adjacent to your washing machine. Specific measures can be taken to take care of all the noise and humdrum and provide you with insulation.
Table of Contents
Where to begin
The first step is to decide how and where you want to be soundproof. This is important because the materials and the installation process vary depending on the location and utility. Depending on this, you should go for products that will give you the maximum benefits. The budget comes next. In today’s market, a wide range of options is available. However, their prices differ to a considerable extent. So setting a fixed amount helps you to get the most out of spending the least.
The third and probably the most crucial point here is the material and design of the soundproofing appliances. Some noise reduction curtains come with grommets. But if you are planning on blanketing the floor, then it can get tricky with the grommets. Similarly, when the thickness and weight of the panels are higher, they bear better results.
Anti-vibration Pads
The first step to a less noisy laundry room is installing anti-vibration pads. Since the vibratory waves travel through a medium like the walls or the floors, structural noise must be reduced first. Anti-vibration pads are the most effective and the simplest way to do that. They are really affordable and can be installed very easily. These pads absorb the vibrations produced by your machine. Placing these pads above or/and below the device is all that you have to do. Depending on the material and its dimensions, the overall noise can be reduced by almost 40-50%.
Soundproofing Blankets And Rugs
The sole purpose of soundproofing blankets and rugs is to absorb the vibrations and noise produced by the dryer and the washer. The market has a lot of options at the user’s disposal for this. You don’t have to completely cover the appliance for the best result. Place the rug on the floor, keep your machine at its center, and you are good to go. These blankets and rugs could reduce the noise by almost 50%. The only drawback here is that, despite them being heavy, they must be cleaned regularly to maintain the hygiene of the space and stop foul smells and such.
Reinforcing The Laundry Room Doors
Vibration pads only reduce the noise by 30 to 40%. As such, they are not sufficient to thoroughly dampen out the sounds on their own. So there are other techniques that you must apply to soundproof your laundry room to achieve the desired results.
A lot of extra noise escapes from the gap under the doors. That is why reinforcing your door and closing up this air gap is crucial for a soundproof laundry room.
Door Sweeps for Soundproofing

A door sweep is used to block out air and sound coming in through the bottom of the door. This can reduce up to 70% of the air and sound traveling in. Once the sides and top of the door are treated, you will need to ensure an air-tight seal at the bottom of the door.
You will need to install this at the bottom of the door to block air traveling through the gap. The ones made out of silicon are flexible, and aside from blocking out air and sound, they can also help insulate a room.
Another way to do this is by draping a soundproofing blanket over or under the door. Nailing or gluing the rug is probably the best way to reduce the noise by almost 70%. However, this can damage your door and the surrounding. You could also use a curtain hanger to hang the blanket from above. Soundproofing curtains can also be used, but blankets being heavier, work way better than curtains. They absorb almost all the waves and vibrations, ensuring that a minimum amount of sound has a chance to escape.
Soundproof blanket
You can use a soundproof blanket to add mass to an area and improve its sound-blocking abilities.
You can use many different blankets as long as you get as close to 100% coverage over the whole area. This may require cutting and fixing the blanket from the top and edges. You can use a staple gun or an adhesive to affix the blankets in place.
You can also use a grommet method. It would be best if you aimed at having the blanket overlap. It will be more effective this way, but you will still need to ensure an air-tight seal.
The grommets at the top will hold it in place. Adhesive strips along the edge and middle will give it a good finish.
You could also put a rug under the door, sealing the gap completely. The space between the door and the floor is termed as the sweep. This is the narrow space you must cover up to eliminate any stray noise that can disturb you. Covering up the sweep is crucial because no matter how sound-absorbent your door is, the sweep will always act as an outlet, letting out the noise from your laundry room.
Soundproofing The Walls
The prominent noise that is produced by the laundry appliance is vibratory in nature that transmits through walls and floors. The best method for this is to install drywall. Drywalls can be implemented both internally and externally. The difference is that the internal drywalls are built inside your existing walls. So it’s better if you install them while the remodeling is going on. If you want to install them externally, then they must be covered separately.
Mass Loaded Vinyl (MLV) applications
Mass is a critical component in sound control and works by simply stopping sound from vibrating through its structure. Mass Loaded Vinyl (MLV) is an effective material to use in lining soundproofing curtains or blankets.
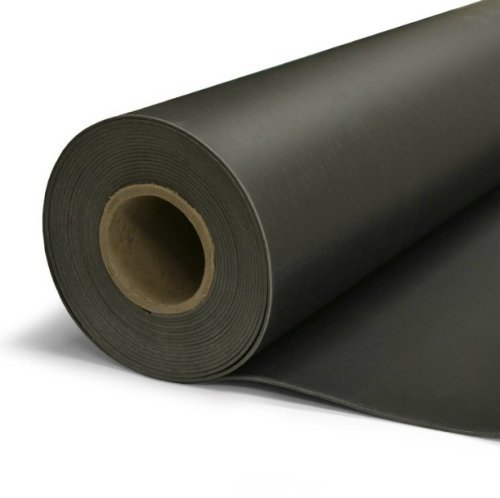
At even just ½LB per sq ft, MLV can produce a 25 STC rating, which is 1/16” thickness. You can get up to 35 STC by using 2lb per sq ft and 1/4” thickness; however, this is slightly more difficult to work with.
You could also use Foam mats. Foam mats are not only useful for noise reduction but also add a layer of insulation. The rubber foam inside the mats conserves heat and is also resistible to water, oil, etc. they come with adhesives and just have to be stuck on the walls. Between drywalls and foam mats, the latter is more affordable and straightforward to put up. But drywall is more efficient as they are built into the main construction.
National Consumer Center offers you a chance to get a $500 gift card to Amazon. The payouts are quick, and you can use the Gift Card to pay for some of your Amazon products.
Soundproofing The Windows
Acoustic curtains are perfect for soundproofing your windows. Typically, they come with grommets that help them to maintain their structure. So fixing up these curtains is a simple process. The heavier the fabric, the better these curtains will work. Alternatively, you could also blanket just like for the doors. But curtains will probably work better when it comes to the windows because the blankets’ size is usually bigger.
Windows are one of the main places where noise can get in or out of a room. Your walls might be doing a good job blocking noise because they’re thick. But regular glass windows aren’t as thick, so noise can easily sneak through them. If you’re looking for ways on how to soundproof windows yourself without giving up the ability to use them, it can be a bit of a challenge. But with the right approach, you can keep the noise out without losing the benefits of your windows.
Sound treating a window helps reduce distracting noise from coming through. You’ll want to seal off any gaps that may be around the frame. You will also need to consider covering the window with a soundproofing material within the frame or outside the frame. This gives the window density and also implements a sound treatment strategy. The air gap formed through these inserts diffuses sound waves and thus reduces sound travel. In some cases replacing the window altogether with an acoustic-treated window is required.
You’ll want to cover the window with a soundproofing material within the frame or on the outside of the frame.
If you have an existing window facing a noisy area, you will have faced issues with the sound coming in through that existing window. It could be traffic & highway noise, neighbors, barking dogs, HVAC, other machinery, etc.
Here are some methods you can do yourself with little to no DIY skills that I’ve found online.
How to Soundproof Windows Yourself – First things first – “Must do’s.”
Your first step in reducing unwanted sound from entering through your existing windows is plugging the gaps.
Sealing the smallest crack will make a big difference. If the windows are not closing properly, you should deal with that first.
Sound vibration travels through air, and a 1% air gap can allow 30% of the sound to travel through. Find all those holes and voids that sound is traveling through and seal them up.
Sound sealing or weatherproofing for an air-tight seal
Airgaps need to be treated to ensure complete coverage and manage sound seeping in through the frame. It would be best if you did this on both sides and at the top of the frame. Weatherstripping requires little effort but, done properly; it’s an effective sound management method.
Most products use a peel-and-stick function. Surface preparation is required as the glue needs a clean area to ensure adhesion. An alcohol wash is not always required but is recommended. Installation should be done on the inner part of the frame.
You can use two methods for this:
Acoustic gasket
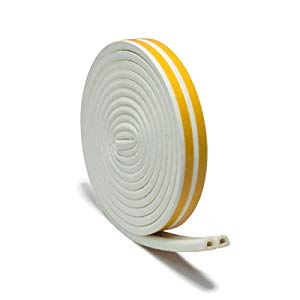
This is a foam rubber composite material that is a hollow “D” shape. When compressed, the gasket seals off and prevents airflow. If the gap is wide enough, you may end up with an air pocket which is just as effective as a soundproofing method.
Peel off the protective strip to expose the sticky side of the tape and then stick the gasket to the frame on all the edges as required.
Closed-cell foam
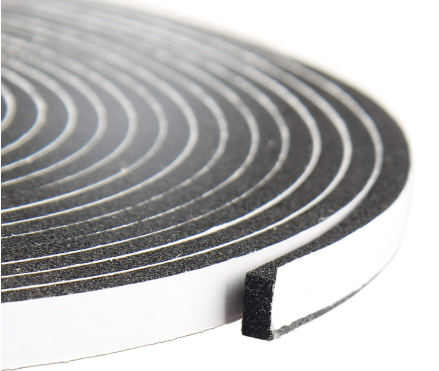
Acoustic-treated foam is the most commonly used material for this. It is compressed between the inner door frame and the door itself, preventing sound from traveling through.
Again peel-and-stick methods are commonly utilized for the application, which makes it easy to install.
Seal cracks and gaps around the frame
Air and sound may also leak through gaps around the frame, so sealing off this area is another “Must-do” step in the sound management process.
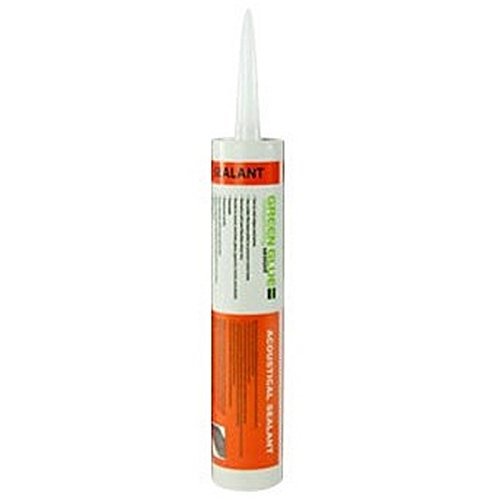
Caulking in a layer of Green-glue around the frame will effectively address this issue. A large caulking gun is needed, and applying to bead around the entire frame is recommended.
Once you have established an air-tight seal around the frame and there are no gaps around the frame itself, you can look at other areas to address.
5 DIY methods to consider
National Consumer Center offers you a chance to get a $500 gift card to Amazon. The payouts are quick, and you can use the Gift Card to pay for some of your Amazon products.
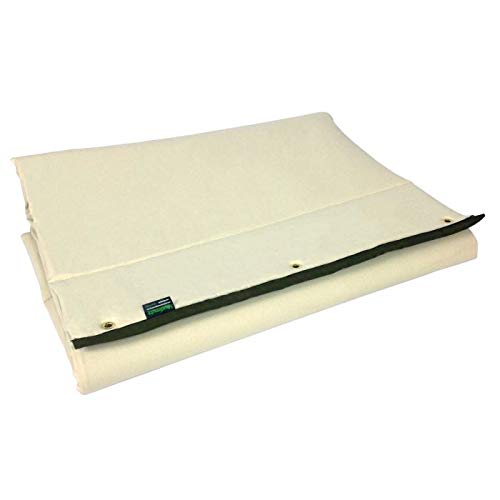
Window barrier blanket (Sound blankets for windows)
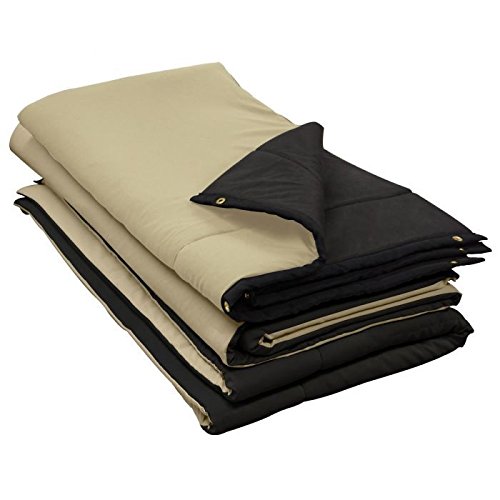
This option is very similar to the window cover in installation; however, the material is different.
A quilted blanket is used to block out the sound effects. Most options have grommets to hang above a window easily. With Audimute, you can expect a noticeable improvement in the sound quality of your room due to reduced sound echoes and reverberation.
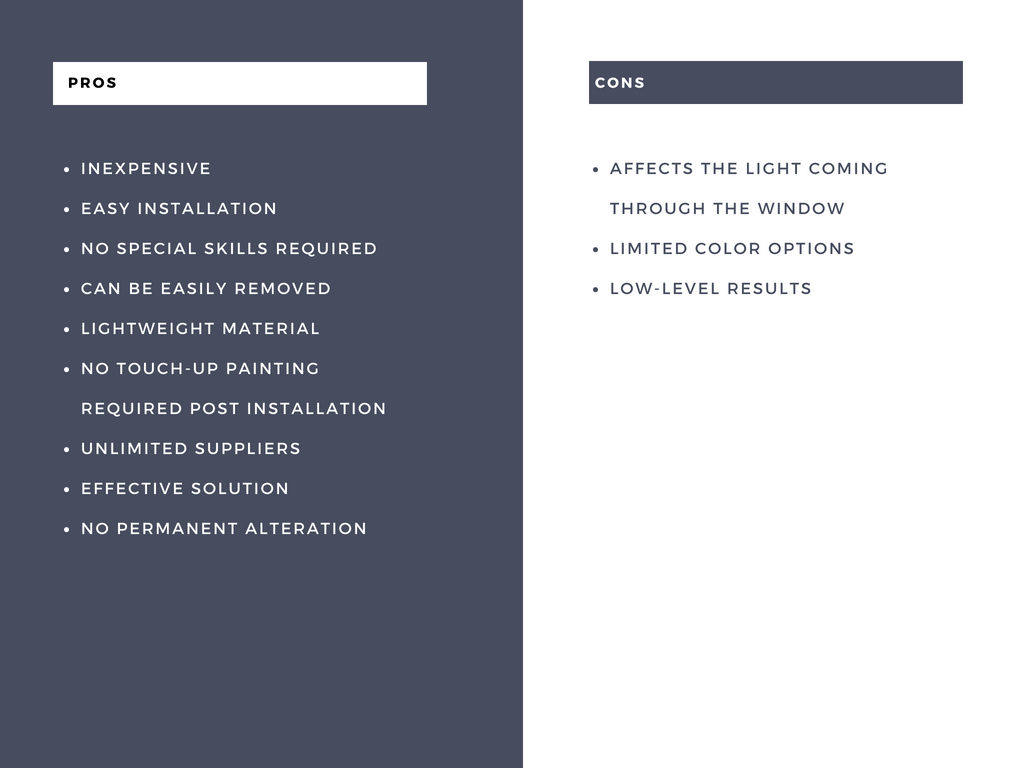
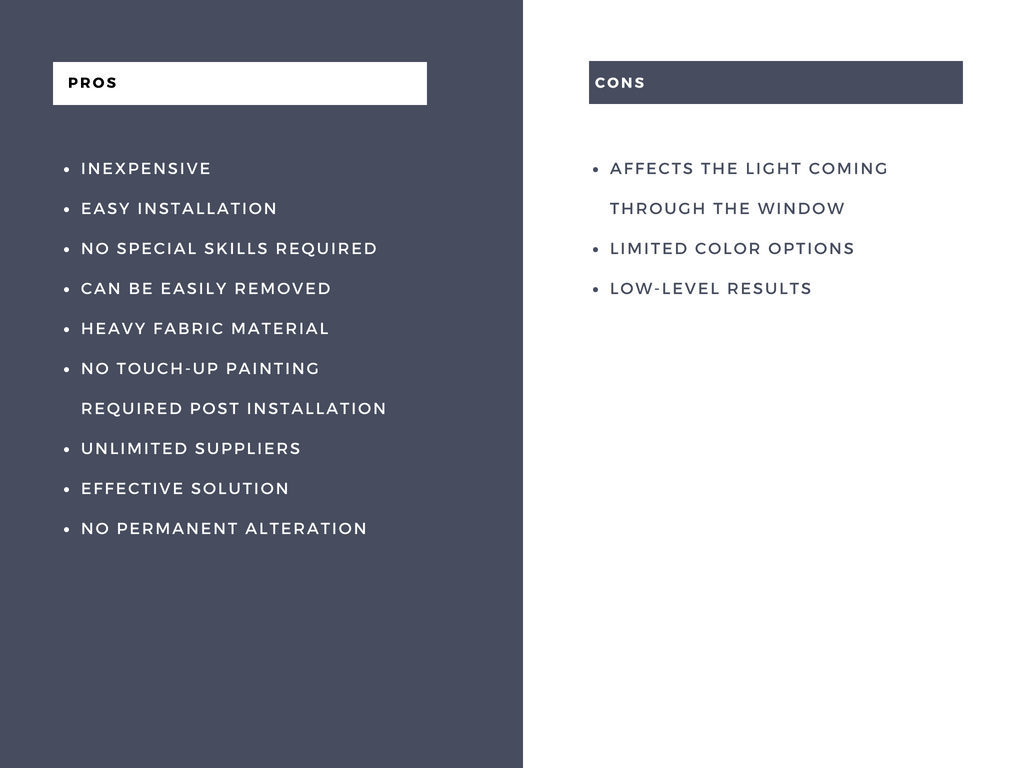
Pros and Cons of Audimute Window Barrier
Where to begin
This option will affect the light coming through the existing windows. Very easy to install without requiring any special skills. It is also easily removed and requires no heavy lifting. The results, unfortunately, are not as great; however, depending on your needs, this may be an effective measure. The installation is not permanent and is very cost-effective.
Soundproofing curtains
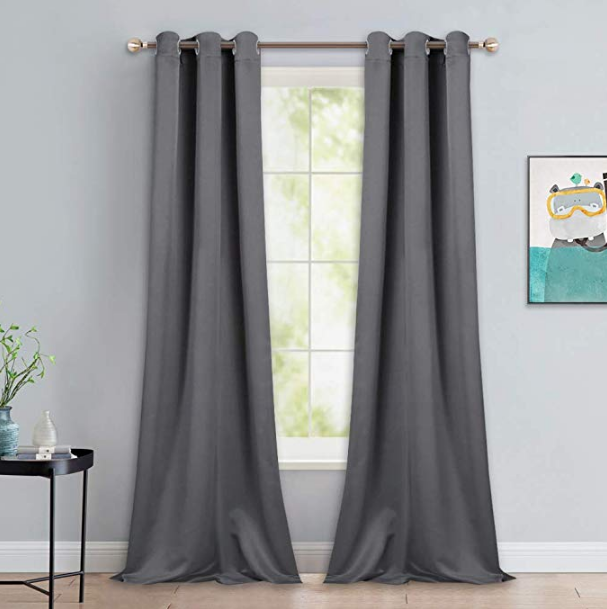
These curtains can boast up to 20 STC ratings, about as much as a hollow-core door can produce by itself. However, this is only in the presence of an MLV or similar lining. Most curtains advertised as “Soundproof” curtains are merely light blocking, but they have limited effectiveness in blocking sound. Done right with the proper soundproof curtains will result in a noticeable difference in the amount of sound coming into an area. Even at a 10 STC rating, it will sound like half the noise as before.
Using soundproof curtains specifically designed to block out sound vibrations can be a useful option when you have mild sound issues. They can also use it in combination with your other efforts employed to enhance effectiveness.
You will need to install a curtain rail and aim for a 4″ overlapping width and height. You’ll also want to have the curtain hanging as flush to the wall as possible. This will avoid sound leaking out from behind the curtain.
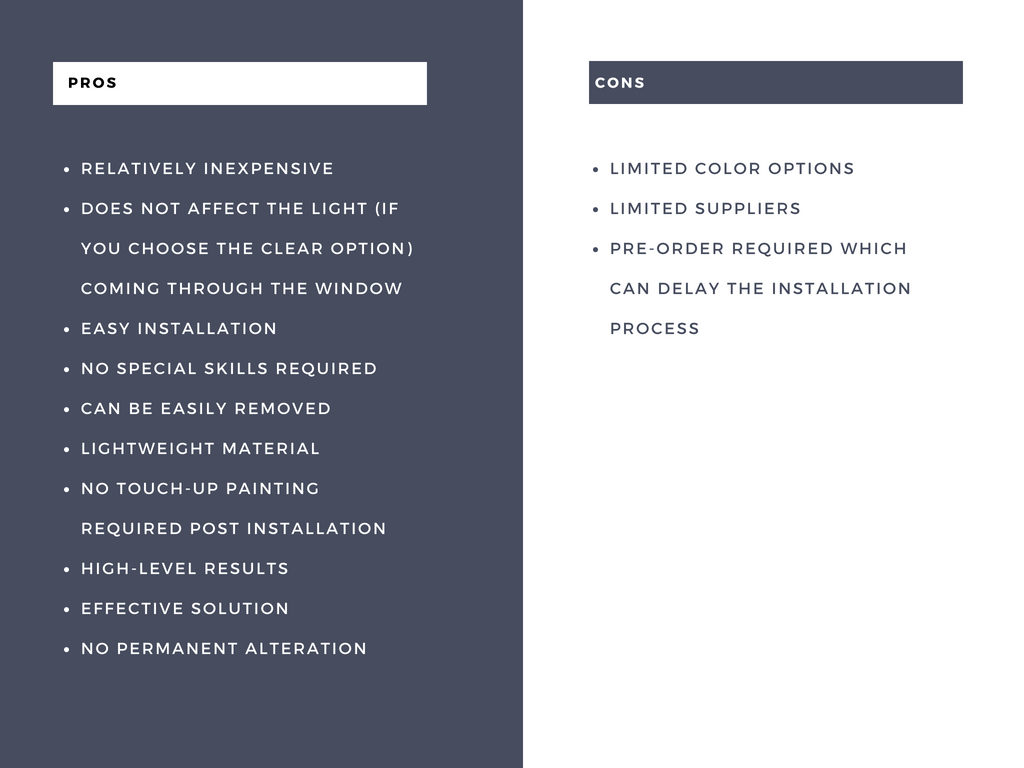
Pros and Cons of Soundproof Curtains
Installation of these curtains is simple when using the already fitted grommets. You can easily remove the curtains, and no permanent effects are left. Although the results are not great, you can use this in conjunction with any other method to improve the overall effectiveness. The cost is also relatively low for a 57″ X 84″ curtain. You can find them here on Amazon. They weigh between 4lbs to 7lbs, depending on the length.
Where to begin
Once you’ve bought the right size curtain for the existing windows, you want to cover, replace your current curtain with it. If you’re using a different method to hang your curtains, you’ll need to install a curtain rod to thread the grommets onto.
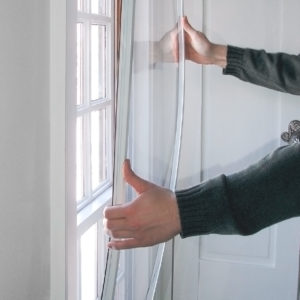
Window sound barrier panel
This comes in both a clear and opaque option that velcro sticks to your window’s outer frame. The clear option allows light to enter the room and still provides an equal amount of sound blocking.
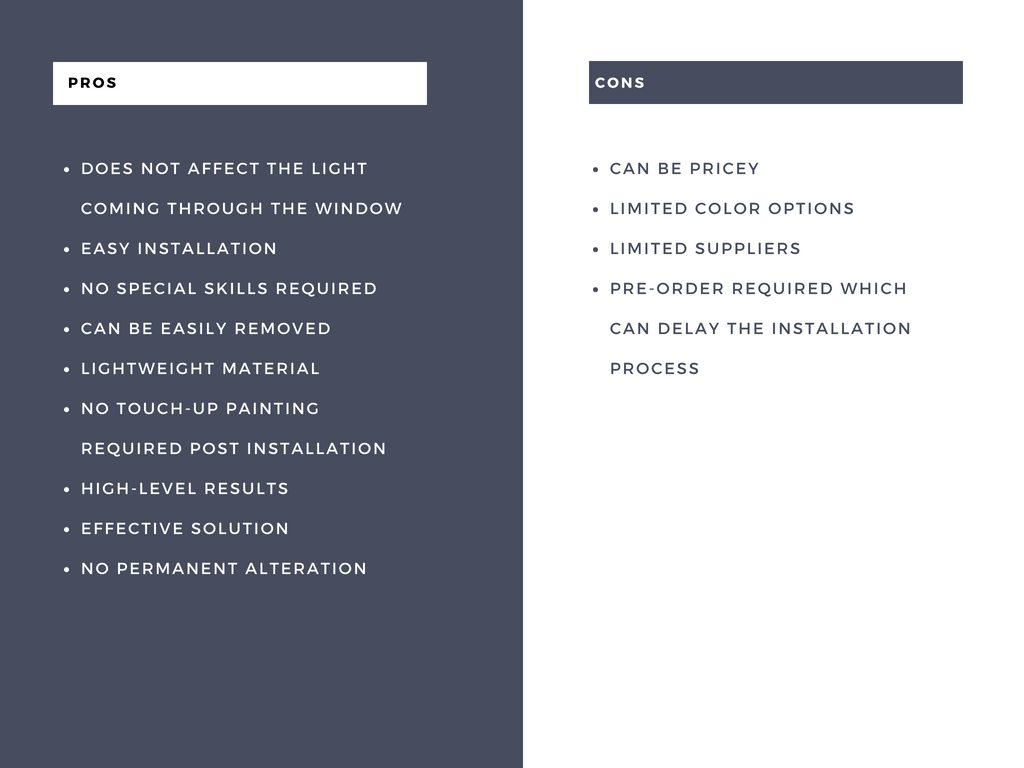
Pros and Cons of Window Barrier
Pros and cons of a window sound barrier
It’s not very difficult to install, doesn’t require any special skills, and can be removed. Also, it doesn’t require any heavy lifting, and you won’t have to touch up the painting when you’re done. The results are typically between 7 – 15 significant dB reduction, making this method highly effective. Trademark Soundproofing offers a 48″ X 48″ panel for around $300.
Where to begin
You need to measure the required size of the panel, which should be 2″ greater than the window itself (this is where you will place the velcro strip), and order the panel.
Once you’ve selected the color, width and height required. This will determine your final price. See the video above for detailed how-to order instructions. Note that you will need at least 2″ on all sides to accommodate the velcro. Be sure to include that measurement in the final size you choose from the drop-down menu.
Using a Window Soundproofing Sealing Kit
A window soundproofing sealing kit is like a second window that sits in or against your existing window frame. It also uses a thermal and acoustic abatement material and can reduce 80% of sound traveling in and out of a room.
Pros and Cons Using a Window Soundproofing Sealing Kit
PrivacyShield® offers a tailor-made kit that you can easily install. For a 48″ X 48″ kit, you’ll be paying around $400. You can find the materials needed for installation at your local hardware store if you don’t have them already. No special tools are necessary either. You could do the job by yourself, but it wouldn’t hurt to have someone lend a helping hand.
Where to begin
The first thing you have to do is pre-order the kit tailor-made according to the measurements of your existing windows. They also have a detailed instruction manual to help you through the whole process.
Conclusion to How to Soundproof Windows Yourself
In conclusion, soundproofing your windows doesn’t have to break the bank. With options ranging from $40 to $400, you can find a solution that fits your budget and needs. The effectiveness of these methods varies, but investing in higher-quality products can offer better sound reduction and durability. Take the initiative to enhance the comfort of your home by tackling this project yourself. It’s an investment in your peace and tranquility.
Ready to make your home a quieter place? Start by choosing one of the soundproofing methods outlined above and see the difference it can make. Don’t wait to improve your living environment. Take action now and enjoy a more serene home today.
Soundproofing your home
Ready to transform your living space into a sanctuary of peace and quiet? Dive into our essential guide to soundproofing your home! From selecting the right materials to easy DIY installation tips, we’ve got everything you need to block out unwanted noise and create the tranquil environment you’ve always dreamed of.
Find out more about soundproofing your home’s windows, doors, ceilings, and floors. Don’t let the buzz of the outside world disrupt your peace. Start your soundproofing journey today and enjoy the serene, noise-free home you deserve. Click here to unlock the secrets to a quieter home!
If you are interested in simply changing to soundproof windows, you can see my blog on these windows. This would require you to replace your current windows completely.
Good luck and happy soundproofing!
Seal cracks and gaps around the frame
Air and sound may also leak through gaps around the frame, so sealing off this area is another “Must-do” step in the sound management process.
Caulking in a layer of Green-glue around the frame will effectively address this issue. A large caulking gun is needed, and applying to bead around the entire frame is recommended.
Once you have established an air-tight seal around the frame and there are no gaps around the frame itself, you can look at other areas to address.
Sound sealing or weatherproofing for an air-tight seal
Airgaps need to be treated to ensure complete coverage and manage sound seeping in through the frame. It would be best if you did this on both sides and at the top of the frame. Weatherstripping requires little effort but, done properly; it’s an effective sound management method.
Most products use a peel-and-stick function. Surface preparation is required as the glue needs a clean area to ensure adhesion. An alcohol wash is not always required but is recommended. Installation should be done on the inner part of the frame.
You can use two methods for this:
Acoustic gasket
This is a foam rubber composite material that is a hollow “D” shape. When compressed, the gasket seals off and prevents airflow. If the gap is wide enough, you may end up with an air pocket which is just as effective as a soundproofing method.
Peel off the protective strip to expose the sticky side of the tape and then stick the gasket to the frame on all the edges as required.
Closed-cell foam
Acoustic-treated foam is the most commonly used material for this. It is compressed between the inner door frame and the door itself, preventing sound from traveling through.
Again peel-and-stick methods are commonly utilized for the application, which makes it easy to install.
Soundproofing curtains
These curtains can boast up to 20 STC ratings, about as much as a hollow-core door can produce by itself. However, this is only in the presence of an MLV or similar lining. Most curtains advertised as “Soundproof” curtains are merely light blocking, but they have limited effectiveness in blocking sound. Done right with the proper soundproof curtains will result in a noticeable difference in the amount of sound coming into an area. Even at a 10 STC rating, it will sound like half the noise as before.
Using soundproof curtains specifically designed to block out sound vibrations can be a useful option when you have mild sound issues. They can also use it in combination with your other efforts employed to enhance effectiveness.
You will need to install a curtain rail and aim for a 4″ overlapping width and height. You’ll also want to have the curtain hanging as flush to the wall as possible. This will avoid sound leaking out from behind the curtain.
If you are interested in simply changing to soundproof windows, you can see my blog on these windows. This would require you to replace your current windows completely.
Soundproofing The Floor
As said earlier, the vibrations travel primarily through the walls and floors. That is why it is necessary to get rid of the structural noises produced by your washing machine. You can use soundproof blankets and rugs for this purpose. Covering the entire floor will need more material than just the region under the device and is more tedious. But equipping the floor with soundproofing materials will give you a way better noise reduction that can’t be achieved otherwise.
Covering with Acoustic Floor Underlayment
These materials can be placed underneath the flooring (tiles/carpet) and made of various substances. The higher the price, the better the soundproofing. They are sold in adhesive rolls and can be cut into pieces and nailed into the ground.
Soundproofing your home
Ready to transform your living space into a sanctuary of peace and quiet? Dive into our essential guide to soundproofing your home! From selecting the right materials to easy DIY installation tips, we’ve got everything you need to block out unwanted noise and create the tranquil environment you’ve always dreamed of.
Find out more about soundproofing your home’s windows, doors, ceilings, and floors. Don’t let the buzz of the outside world disrupt your peace. Start your soundproofing journey today and enjoy the serene, noise-free home you deserve. Click here to unlock the secrets to a quieter home!
Conclusion
As is pretty apparent, using more than one technique to soundproof your laundry room is the best way to go. You could add acoustic panels to the walls and at the same time use floor sweeps and foam mats. Together they could bring down the noise by almost 80 to 90% that blankets alone couldn’t. So now that you have a clear idea of how to go about things choose your options and make your laundry room quieter today!
Good luck and happy soundproofing!