When you spend time inside a vehicle, it can get especially noisy. When you’re living inside one, you need to ensure that the surroundings are mostly peaceful. Soundproofing your campervan is crucial for a great living experience.
The chief contributor of noise in any vehicle is the metal sheets. They make up a large part of the structural noise as the soundwaves vibrate through them. The vibrations and resonance are your number one foe while insulating the vehicle part of a campervan.
Eliminating or managing noise is a tricky proposition that requires a combination of insulation and mass-loaded vinyl (MLV) fully encapsulating the space that is to be silenced. Partial noise can be eliminated by building a buffer between the noise source and the space to be quieted.
Table of Contents
Where to begin
There is a fundamental difference between soundproofing an enclosed space and sound dampening. Soundproofing means that the room or the space is impenetrable by sound. On the other hand, sound dampening does not guarantee a hundred percent quiet space—Installing sound dampening products can significantly reduce the overall noise but does not eliminate them. Vehicles like cars and caravans use Sound-deadening as a technique for reducing vibration. Their chief purpose is to decrease structural noise and vibrations originating and resonating inside the automobile.
Material Required For Soundproofing Your Campervan
A significant aspect of soundproofing materials is that you don’t need 100% surface coverage for best results. As long as you cut them in sections and stick them at the right places, 25% coverage is more than enough. The walls, doors, under the roof, wheel wells, and floor are the regions you need to cover. For more oversized vehicles, 125 sq. feet of sound dampening material is sufficient for 100% efficiency.
Sound deadening materials are used where there is already a pre-existing issue of limited space and overheating. The materials ensure that you have a smooth and comfortable drive. The perks of installing sound dampening materials are plenty.
- Easily installed.
- They are cost-effective, durable, and resistant.
- Reduce the noise level inside.
- Enhance your car’s inbuilt audio quality.
- Available in different shapes and sizes.
Dynamat
Choosing Dynamat isn’t just about picking a sound deadening product; it’s an investment in unparalleled noise control and vehicle comfort that stands the test of time. As a DIY enthusiast keen on effective solutions, you’ll appreciate Dynamat’s industry-standard quality, recognized by leading auto rebuilders. It’s a one-time setup with no future fuss needed – think of it as a decade-long peace and quiet guarantee for your ride.
Yes, at around $5 per square foot, Dynamat isn’t the cheapest option out there. However, its exceptional sound dampening abilities justify the cost. For areas needing heat insulation like firewalls and headlines, the thicker, slightly pricier products are your go-to, adept at quelling those low-frequency rumbles from your vehicle’s rear.
Dynamat’s technology evolution has slightly pushed its price upwards, a small price for the significant advancements in noise control it offers. The Superlite range presents a more budget-friendly alternative for extensive projects without compromising on quality. This range, while thinner, covers a larger area, making it ideal for vehicle floors or as an additional layer where needed.
Installation is a breeze. The Dynamat Xtreme version, with its butyl rubber and aluminum makeup, contours effortlessly to any vehicle surface, ensuring a snug fit without the hassle of odors or mess. No special tools are required, just your hands and a bit of patience. The result? A significantly quieter, more enjoyable drive, proving Dynamat’s worth as an investment in your vehicle’s performance and your comfort.
See the complete review and product listing here.
The easiest way to soundproof your campervan is by installing the ready-made products available presently. SoundSkins, HushMat, and KilMat are the most popular buys when it comes to sound dampening. You have to peel and stick them to the regions you want to cover. The viscoelasticity of the material is the property by which this is possible. Once stretched, it takes a long time for the material to return to its original configuration. So when a sound wave hits aside. It can’t travel through to the other side.
This way, the sound waves get absorbed, and the noise level comes down considerably. Sound deadeners like Dynamat are popular because of their ease of installation and affordability. They are simple, cheap, and efficient. And what’s more, covering just 25% of the entire space gives good results. So even the amount of material required is on the lower side.
Cheaper Alternatives for soundproofing your campervan
I recommend that you go for the most effective options. There are way more pocket-friendly choices for the consumers. Peel-and-seal rolls that are available on Amazon can do a great job as well. They look similar to Fatmats but at half the price. The reduced rates are because they use rubberized asphalt and aluminum as their primary fabric. Though they can be effective, these products are for the roof and ceiling. There’s also a high chance that they might melt or get damaged when exposed to heat, a setback because your campervan will not always have a shade to get parked in. But all in all, these home depot products are pretty enticing.
National Consumer Center offers you a chance to get a $500 gift card to Amazon. The payouts are quick, and you can use the Gift Card to pay for some of your Amazon products.
Now let’s talk about the actual process of installing these materials and soundproofing your campervan. Place the sound dampening material directly onto the metal surface of your van. After attaching the deadeners, the insulations and moisture barriers come next. So following the proper procedure is crucial.
Applying sound damping
The application process depends on the material you choose. Most damping comes with self-adhesive, which makes it fairly simple to install. It functions on a peel-and-stick application method.
The challenge may be in the removal and re-installation of the panels. See my detailed post on applying sound damping.
Products to consider include Soundskins, Hushmat, and Dynamat. I’ve reviewed these in another post. You should have a look here at these comparisons to decide which product is best for you.
You should check your car’s manual first. For around $20, you can find a detailed version. The easiest way to find the hard copy repair manual for your vehicle is to select Repair Manuals by Make and Model. Or you can get an electronic version. They both have all sorts of instructions and guides, whether it’s for customization, maintenance, repair, or even simply just learning about the inner workings of a particular vehicle.
Clean Your Vehicle:
The first step to a sound-insulated vehicle is cleaning the interior of the car. You must remove any grease, dirt, or/ body panels beforehand. Moisture can become your enemy if it gets trapped in the layers. Make sure the interior is arid so that the material stays stuck. The water can inhibit the efficiency of the adhesive used for sticking the peel-and seal to the metal surface.
Measuring and Cutting:
For better coverage, sectioning your material and cutting them is an important step. You can easily cut most materials available with plain household scissors. You can also use a cardboard template to make the sections on the same side. For your wheel well and the vehicle’s floor, use smaller units so that when placed together, they can cover up the tricky areas as best as possible.
Peel and Stick:
The act of applying the deadeners is effortless. They come with powerful adhesives. So all you have to do is peel them off and stick them directly to the metal surface. Make sure that you don’t accidentally touch the adhesive, though. They are strong and can be irritatingly sticky.
Using Rollers For Making The Panels Flat:
The last step but not the least is using rollers to flat out your panels. Pressing with your fingers isn’t advised because the edges of the foil are sharp. Using a roller or something like a bottle to stick the adhesives and flattening out the panels is the best way to go. The undulations get smoothened out, and this directly results in the best possible sound insulation at your disposal.
Sound sealing or weatherproofing for an air-tight seal
Airgaps need to be treated to ensure complete coverage and manage sound seeping in through the frame. It would be best if you did this on both sides and at the top of the frame. Weatherstripping requires little effort but, done properly; it’s an effective sound management method.
Most products use a peel-and-stick function. Surface preparation is required as the glue needs a clean area to ensure adhesion. An alcohol wash is not always required but is recommended. Installation should be done on the inner part of the frame.
You can use two methods for this:
Acoustic gasket
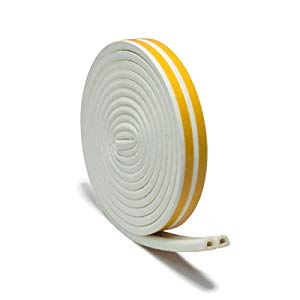
This is a foam rubber composite material that is a hollow “D” shape. When compressed, the gasket seals off and prevents airflow. If the gap is wide enough, you may end up with an air pocket which is just as effective as a soundproofing method.
Peel off the protective strip to expose the sticky side of the tape and then stick the gasket to the frame on all the edges as required.
Closed-cell foam
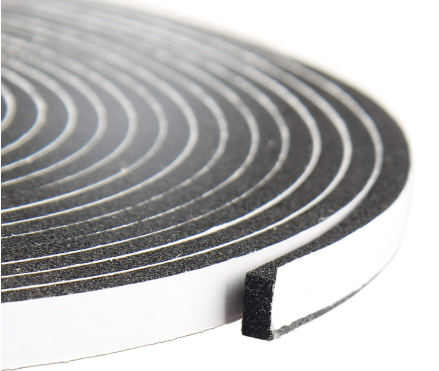
Acoustic-treated foam is the most commonly used material for this. It is compressed between the inner door frame and the door itself, preventing sound from traveling through.
Again peel-and-stick methods are commonly utilized for the application, which makes it easy to install.
Seal cracks and gaps around the frame
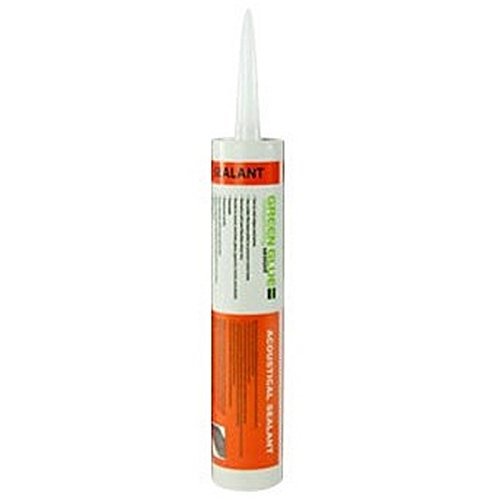
Air and sound may also leak through gaps around the frame, so sealing off this area is another “Must-do” step in the sound management process.
Caulking in a layer of Green-glue around the frame will effectively address this issue. A large caulking gun is needed, and applying to bead around the entire frame is recommended.
Once you have established an air-tight seal around the frame and there are no gaps around the frame itself, you can look at other areas to address.
Soundproofing curtains
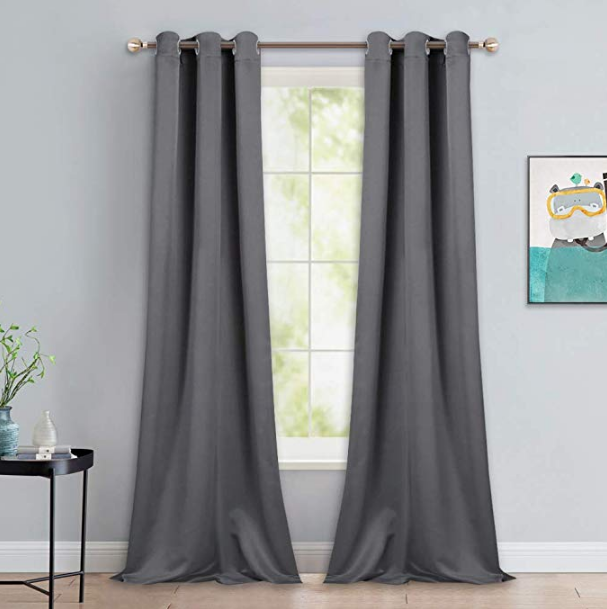
These curtains can boast up to 20 STC ratings, about as much as a hollow-core door can produce by itself. However, this is only in the presence of an MLV or similar lining. Most curtains advertised as “Soundproof” curtains are merely light blocking, but they have limited effectiveness in blocking sound. Done right with the proper soundproof curtains will result in a noticeable difference in the amount of sound coming into an area. Even at a 10 STC rating, it will sound like half the noise as before.
Using soundproof curtains specifically designed to block out sound vibrations can be a useful option when you have mild sound issues. They can also use it in combination with your other efforts employed to enhance effectiveness.
You will need to install a curtain rail and aim for a 4″ overlapping width and height. You’ll also want to have the curtain hanging as flush to the wall as possible. This will avoid sound leaking out from behind the curtain.
What to do next
I’ve detailed the application process for sound-deadening materials. If you’ve already decided on where you want to apply it see my comprehensive guidelines for
If you’re not sure where to start, I strongly recommend you begin with the doors. From there, you can move on to the trunk.
What you’ll need
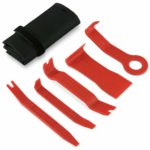
A panel removal tool kit is required for the panel pins. This is because they avoid breakage of the pins during the removal of them. It’s also useful for prying away the panels without doing damage to your vehicle’s paint job.
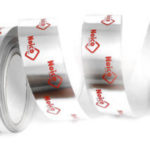
Aluminum tape is also needed. You can patch up the parts where there might be gaps left or use the tape to give your application a clean finish.

Wear a good pair of workman’s gloves while working with the material. The foil edges are sharp and cut through your skin. The glue is also best avoided.

You can use metal shears instead of scissors for products like Dynamat and others. You can also use a switchblade.
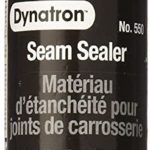
Use the correct seam sealer (if required) to avoid it setting and causing ripples on your trunk lid. In addition, the seam sealer should maintain some flex when dries.
You may want to get a set of additional Bumper Retainer Clips, just in case you damage some or if you find a few missing already.
Use a portable light system to make it easier for you to see.
On these other blogs, I’ve provided a guide to purchasing the right pack size for whatever project you plan on undertaking. The step-by-step guide walks you through the process, including application.
You should check your car’s manual first. For around $20, you can find a detailed version. The easiest way to find the hard copy repair manual for your vehicle is to select Repair Manuals by Make and Model. Or you can get an electronic version. They both have all sorts of instructions and guides, whether it’s for customization, maintenance, repair, or even simply just learning about the inner workings of a particular vehicle.
Wheel Wells – Not to be overlooked when soundproofing your campervan
A considerable amount of street noises enter through the wheel wells. They act as the inlet to exhaust noises, tires screeching and even houses made by the accelerators and the brakes. Covering up the wheel wells ensures that these noises get blocked off and soundproof your campervan. What’s more, the material also drastically decreases the vibrations produced due to these sound waves. The shape of the sound deadening materials might not be meant precisely for this purpose, though.
Heating the material is a solution to this problem. Thermal enthalpy makes the fabric more malleable and can be put on curved surfaces easily. If you are planning to use very thick materials, though, this can get tricky. For regions like the wheel wells of your campervan, a more delicate material is recommended.
Conclusion
Thus as you can see, soundproofing or adding sound-deadening materials to your vehicles and campervans is a beneficial yet straightforward process. The materials are all ready for use and come with highly simplistic installation procedures. They are durable, resistant, and cost-effective. Not only do they reduce the structural noise and vibrations inside your car, but they also block out the external sounds from entering your space. So why wait when you can enjoy a better audio quality and have an overall smoother, more peaceful driving experience? Grab and soundproof your campervan today!
Good luck and happy soundproofing!